Account Setup
Set up essential accounts needed to contribute to Open Science. Follow these easy, step-by-step guides to create and configure the accounts required for working within SCHOOL program and beyond.
GitHub
GitHub is one of the most powerful tools in the world of collaborative research, open science, and software development. It’s more than just a platform for storing code — it’s a vibrant community where you can contribute to projects, share data, and collaborate with fellow researchers from all over the world. Whether you’re a beginner or a seasoned coder, GitHub provides the tools you need to manage projects, contribute to Open Science, and share your findings.
At its core, GitHub is a hosting service for version control using Git. This means it helps you track changes in your work, collaborate with others seamlessly, and manage multiple versions of a project. Many of NASA’s open science projects, including the TOPS SCHOOL initiative, use GitHub to share their work and invite contributions from the global community. So, setting up a GitHub account is the first step toward being part of this exciting, inclusive movement.
Let’s walk through how to create your personal GitHub account and get started with open science!
Creating GitHub Account
Hint
If you already have a GitHub account, you can skip this guide and checkout things to do to secure your GitHub account below.
Creating a GitHub account is the gateway to becoming a part of a collaborative world of scientific discovery and contribution. Follow these simple steps to get started. Don’t worry if you’re new to GitHub — this guide will walk you through each step with empathy and clarity, so you feel supported from start to finish.
Go to GitHub.
In the upper-right corner of the page, click on the Sign Up button to start creating your personal account. GitHub will guide you through the process, one step at a time.
You will be asked for a username, email address, and to create a password.
Important
Your username will be your unique identity on GitHub, and it’s how others will find and recognize you on the platform. Your email address is important because GitHub will use it to communicate with you. Make sure it’s an email address you check regularly. Choose a strong password to protect your account. GitHub recommends using a combination of upper and lower-case letters, numbers, and symbols for added security.
Once you’ve entered your details, GitHub will send a verification email to the address you provided.
Check your inbox (and your spam folder if you don’t see it) and click the link to verify your email address.
Without verifying your email, you won’t be able to perform certain tasks like creating repositories, so this step is important!
You’ll be asked to complete a simple CAPTCHA (a quick task to confirm you’re not a robot). Just follow the instructions, and you’re good to go.
GitHub will prompt you to choose a plan. For most users just starting with Open Science, the Free plan is more than enough. You can always upgrade later if you need advanced features like private repositories, but for now, you’re all set with the free option!
Once your account is set up, you’ll land on your GitHub dashboard. This is your home base for creating projects, exploring repositories, and contributing to open science. GitHub offers a helpful tutorial called “Hello World” to get you started with the basics — like creating your first repository and understanding essential concepts like branching, commits, and pull requests.
Tip
For added security, it’s recommended that you set up Two-Factor Authentication (2FA). This provides an extra layer of protection for your account. You can enable 2FA from your account settings by following this guide.
Now that your account is ready, you’re all set to explore the world of Open Science and contribute to exciting projects. In the next section, we’ll dive deeper into using GitHub, setting up repositories, and learning how to collaborate on NASA’s open science initiatives.

But before you move on, take a moment to congratulate yourself! You’ve just taken a significant step toward being part of the open science community.
Securing Your GitHub Profile
Multi-Factor Authentication (MFA) adds an extra layer of security to your GitHub account by requiring a second form of verification beyond just your password. Here’s how to set it up:
Navigate to Security Settings by clicking on to your Profile
Under the “Two-factor authentication” section, click the button to begin the setup process. Choose your authentication method. GitHub offers several MFA options.
Follow the setup instructions and remaining prompts to complete the MFA setup. Ensure you test the MFA method to confirm it’s working properly.
SSH keys provide a secure way to access your GitHub repositories without needing to enter your username and password each time.
GPG keys are used for signing commits and tags to verify the authenticity of your work.
ORCID
In this section, you’ll learn how to create your ORCID account, an important step to ensure that your research and contributions are easily identifiable and accessible in the Open Science community. Don’t worry if this is your first time doing this — the process is straightforward, and this guide will help you through each step.
What is ORCID and Why You Need It?
Before we dive into the steps, let’s talk about why having an ORCID account is important.
ORCID provides a unique, persistent identifier for researchers, ensuring that your contributions are correctly attributed to you, regardless of any changes Open Science, where collaboration and transparency are key. Your ORCID profile becomes your digital fingerprint in the world of research, linking your work to your name in a global, accessible database.
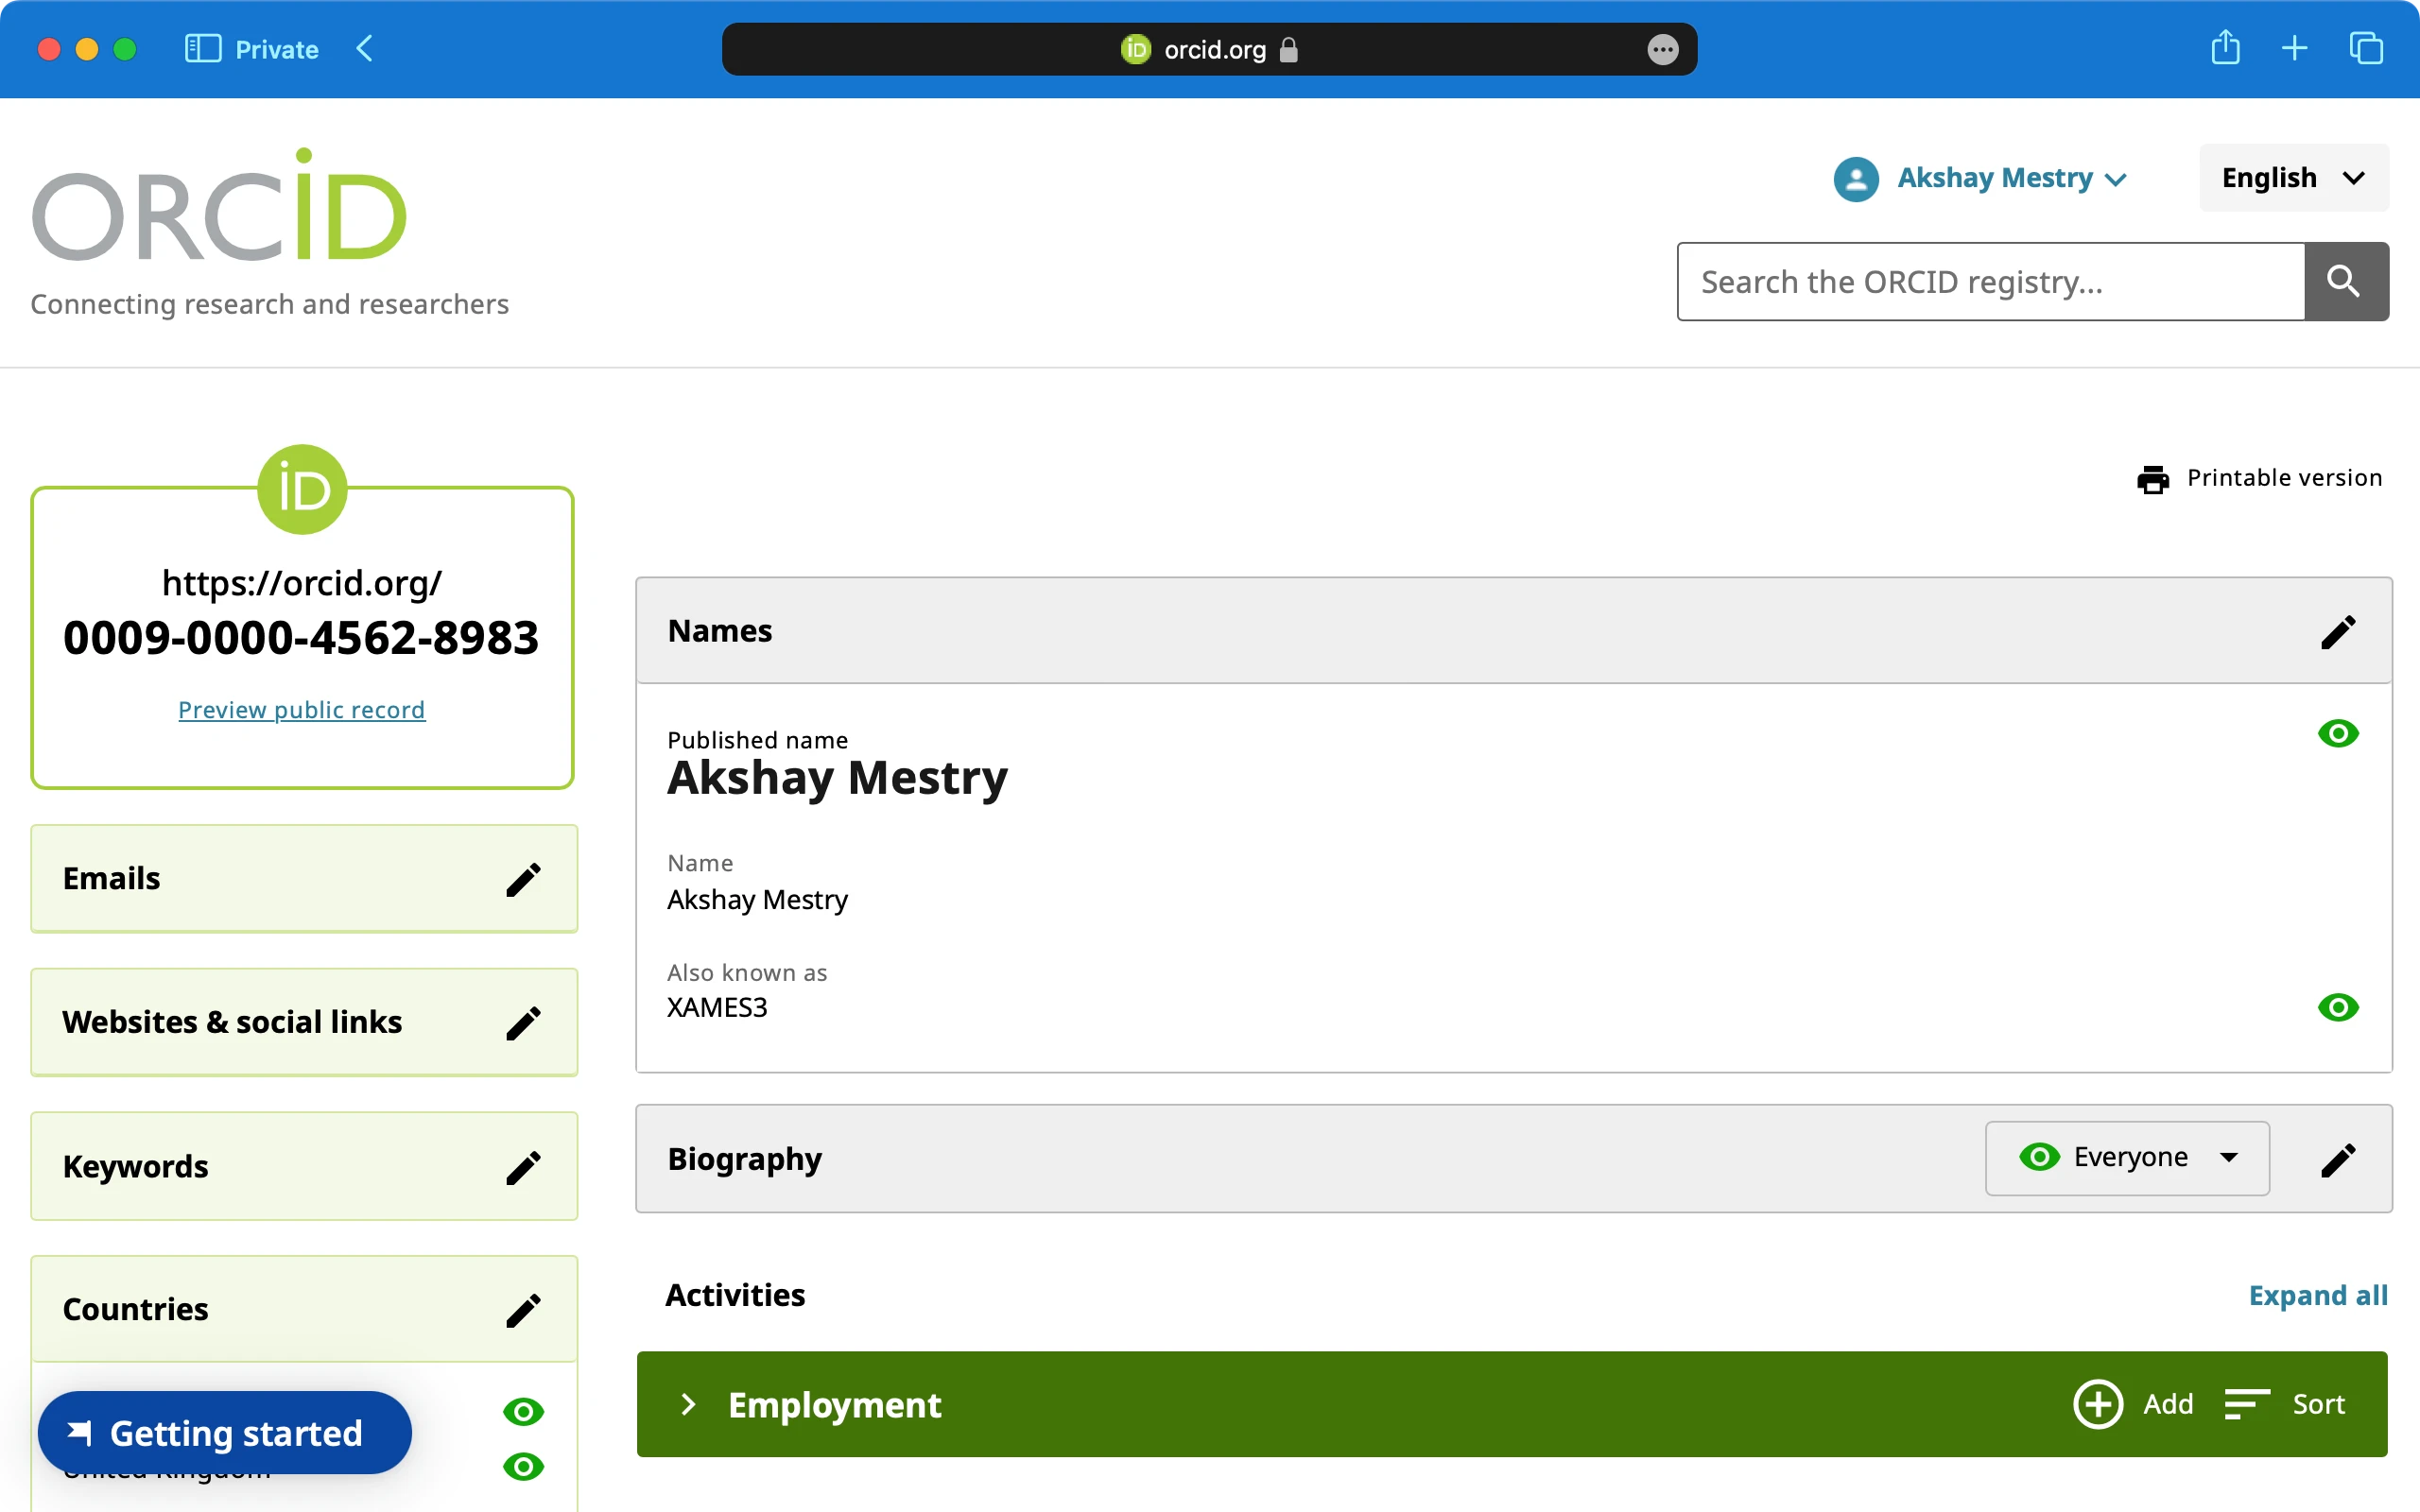
Creating ORCID Account
Go to ORCID.
You’ll see a form asking for some basic information. No worries, this will only take a minute or two. Enter your information like your first and last name, primary email address (this is where all your notifications will be sent), possibly a secondary email address (optional but recommended, to ensure you don’t lose access in case you forget your credentials).
Next would be the password, make sure your password is something memorable but secure. Instructions about the password requirements would be mentioned while entering the password.
Tip
Set your visibility preferences. ORCID gives you control over the privacy of your information. You can set your profile to be:
Public. Anyone can see your information.
Limited. Only trusted parties (like your institution) can view your profile.
Private. Only you can see your information.
It is best to keep it Public to maximize visibility for your work in Open Science, but you can always change it later.
Before you complete the registration, you’ll need to agree to ORCID’s terms. These are pretty straightforward and ensure that your data is used responsibly.
Now that your account is created, ORCID will send a verification email to primary email address you provided. It’s important to verify your email to complete the setup. Check your inbox (and your spam folder if you don’t see it) and click the link to verify your email address.
And there you go! You’ve officially created your ORCID account!
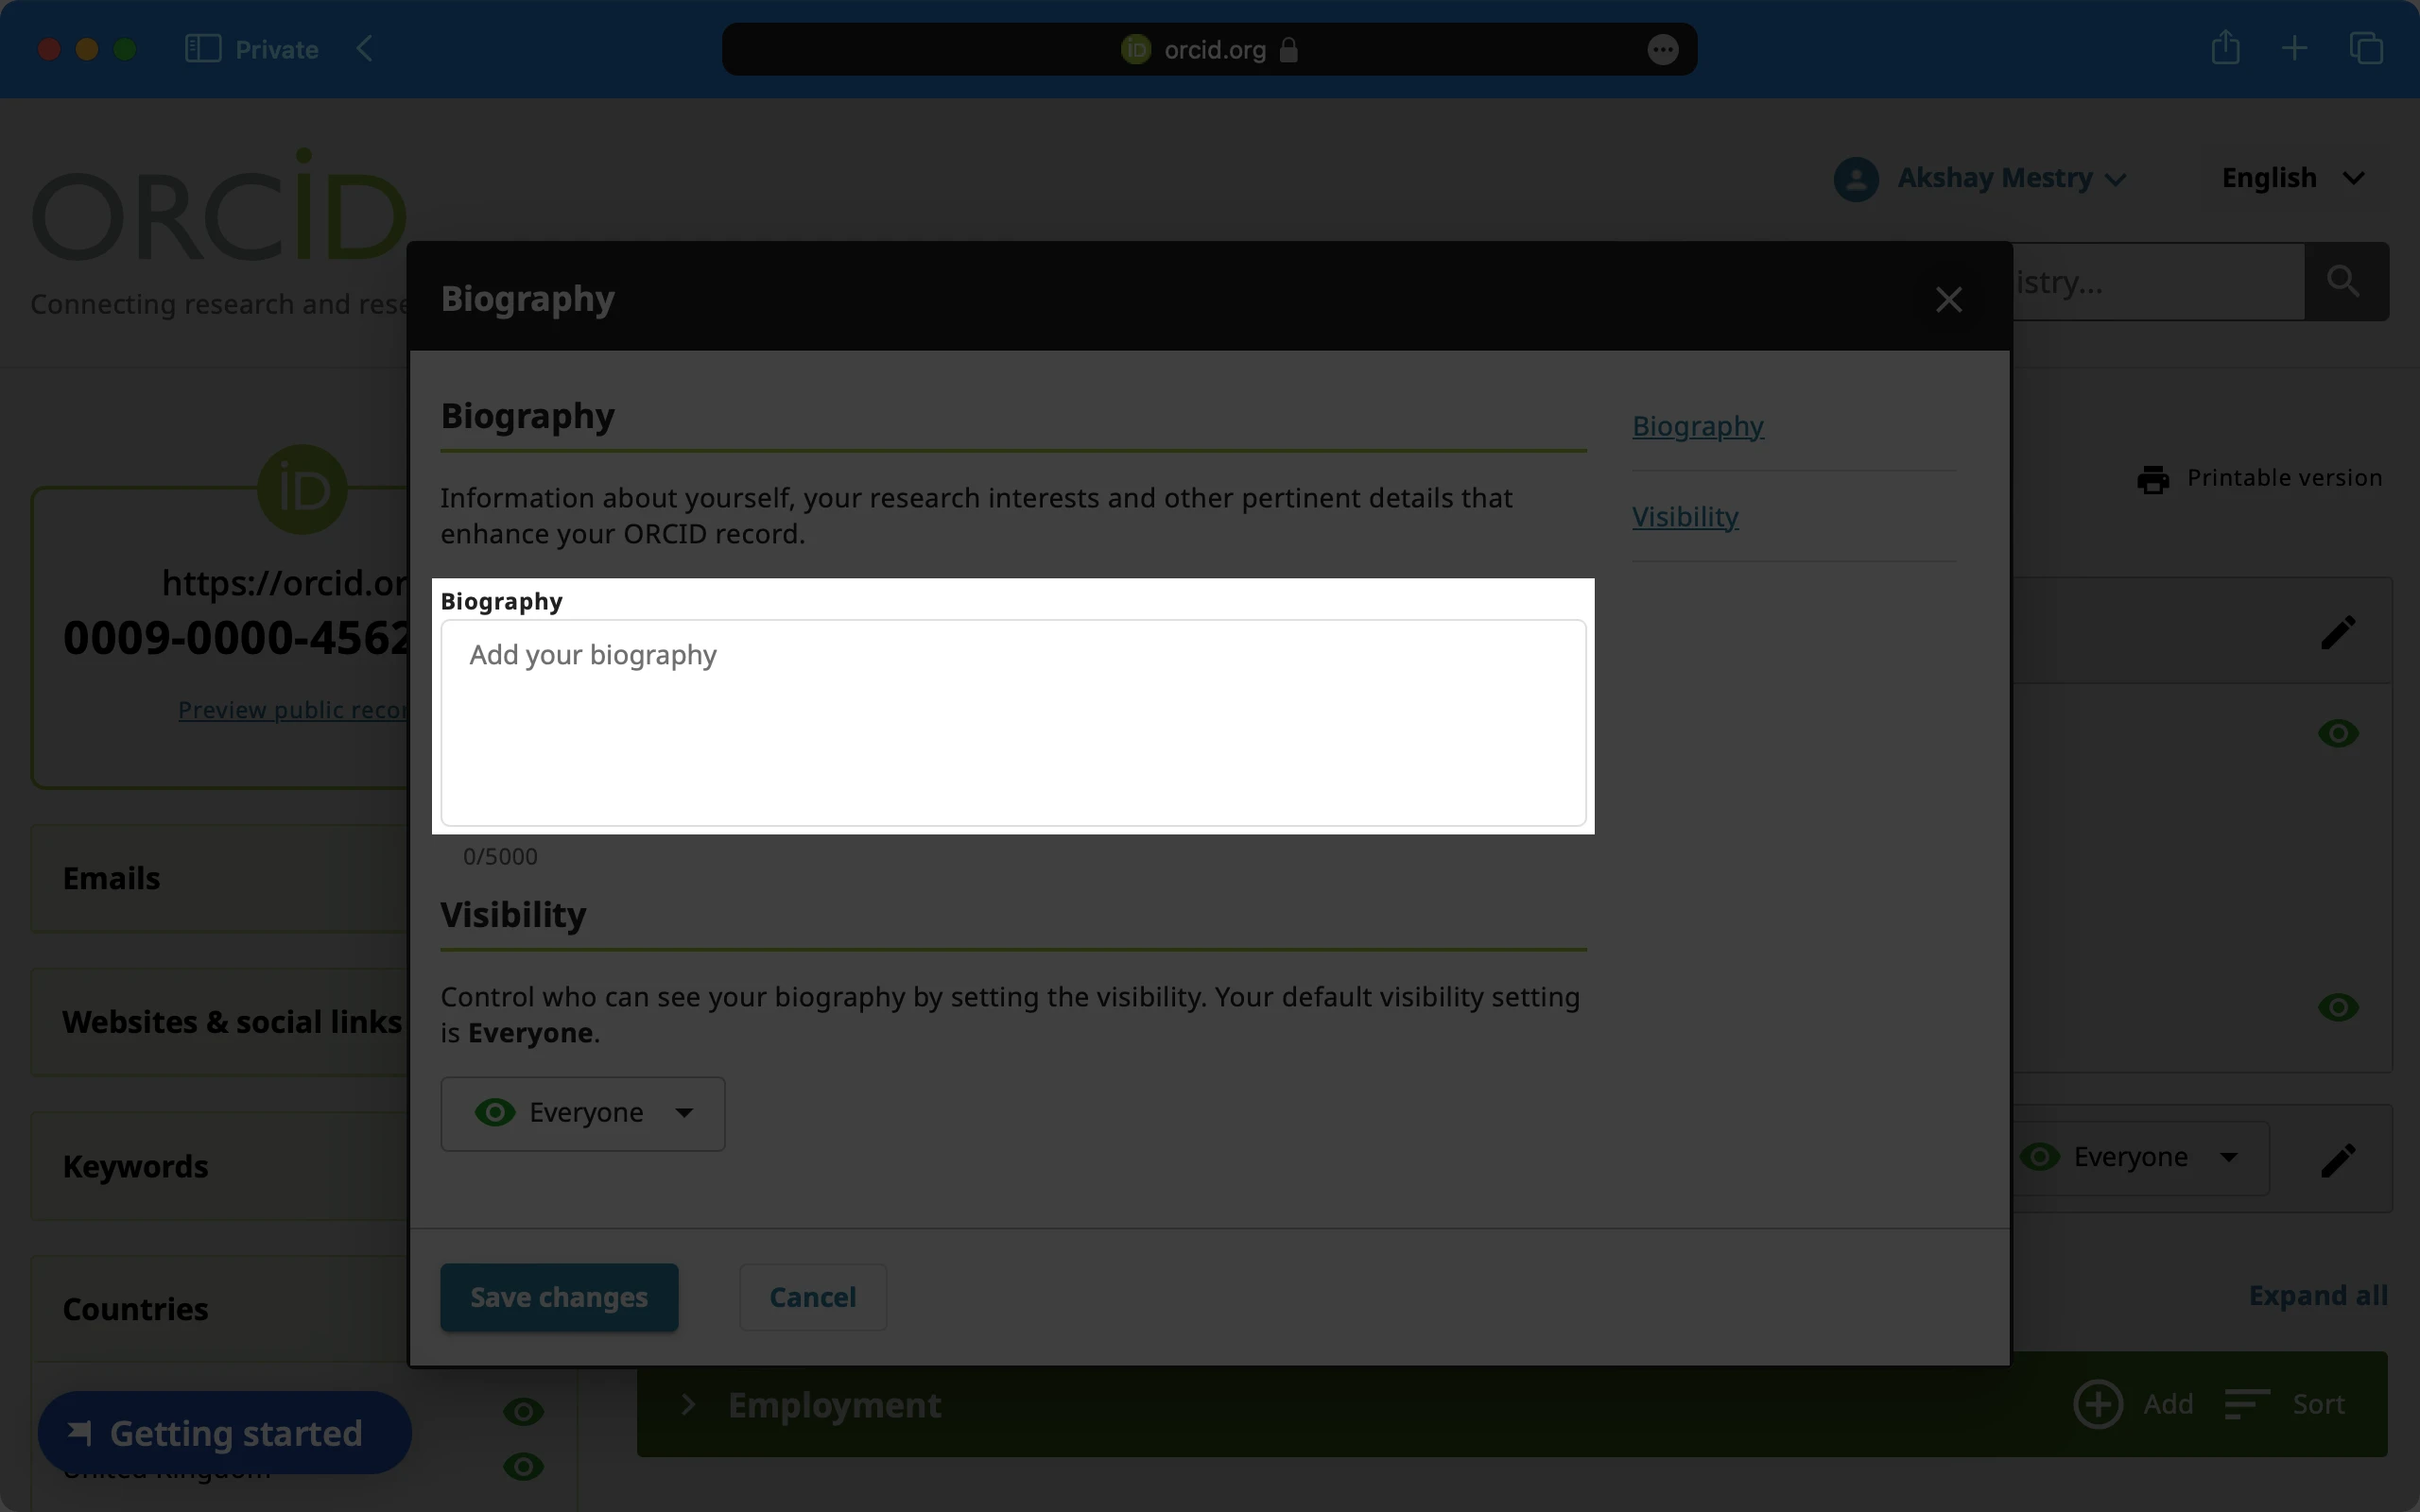
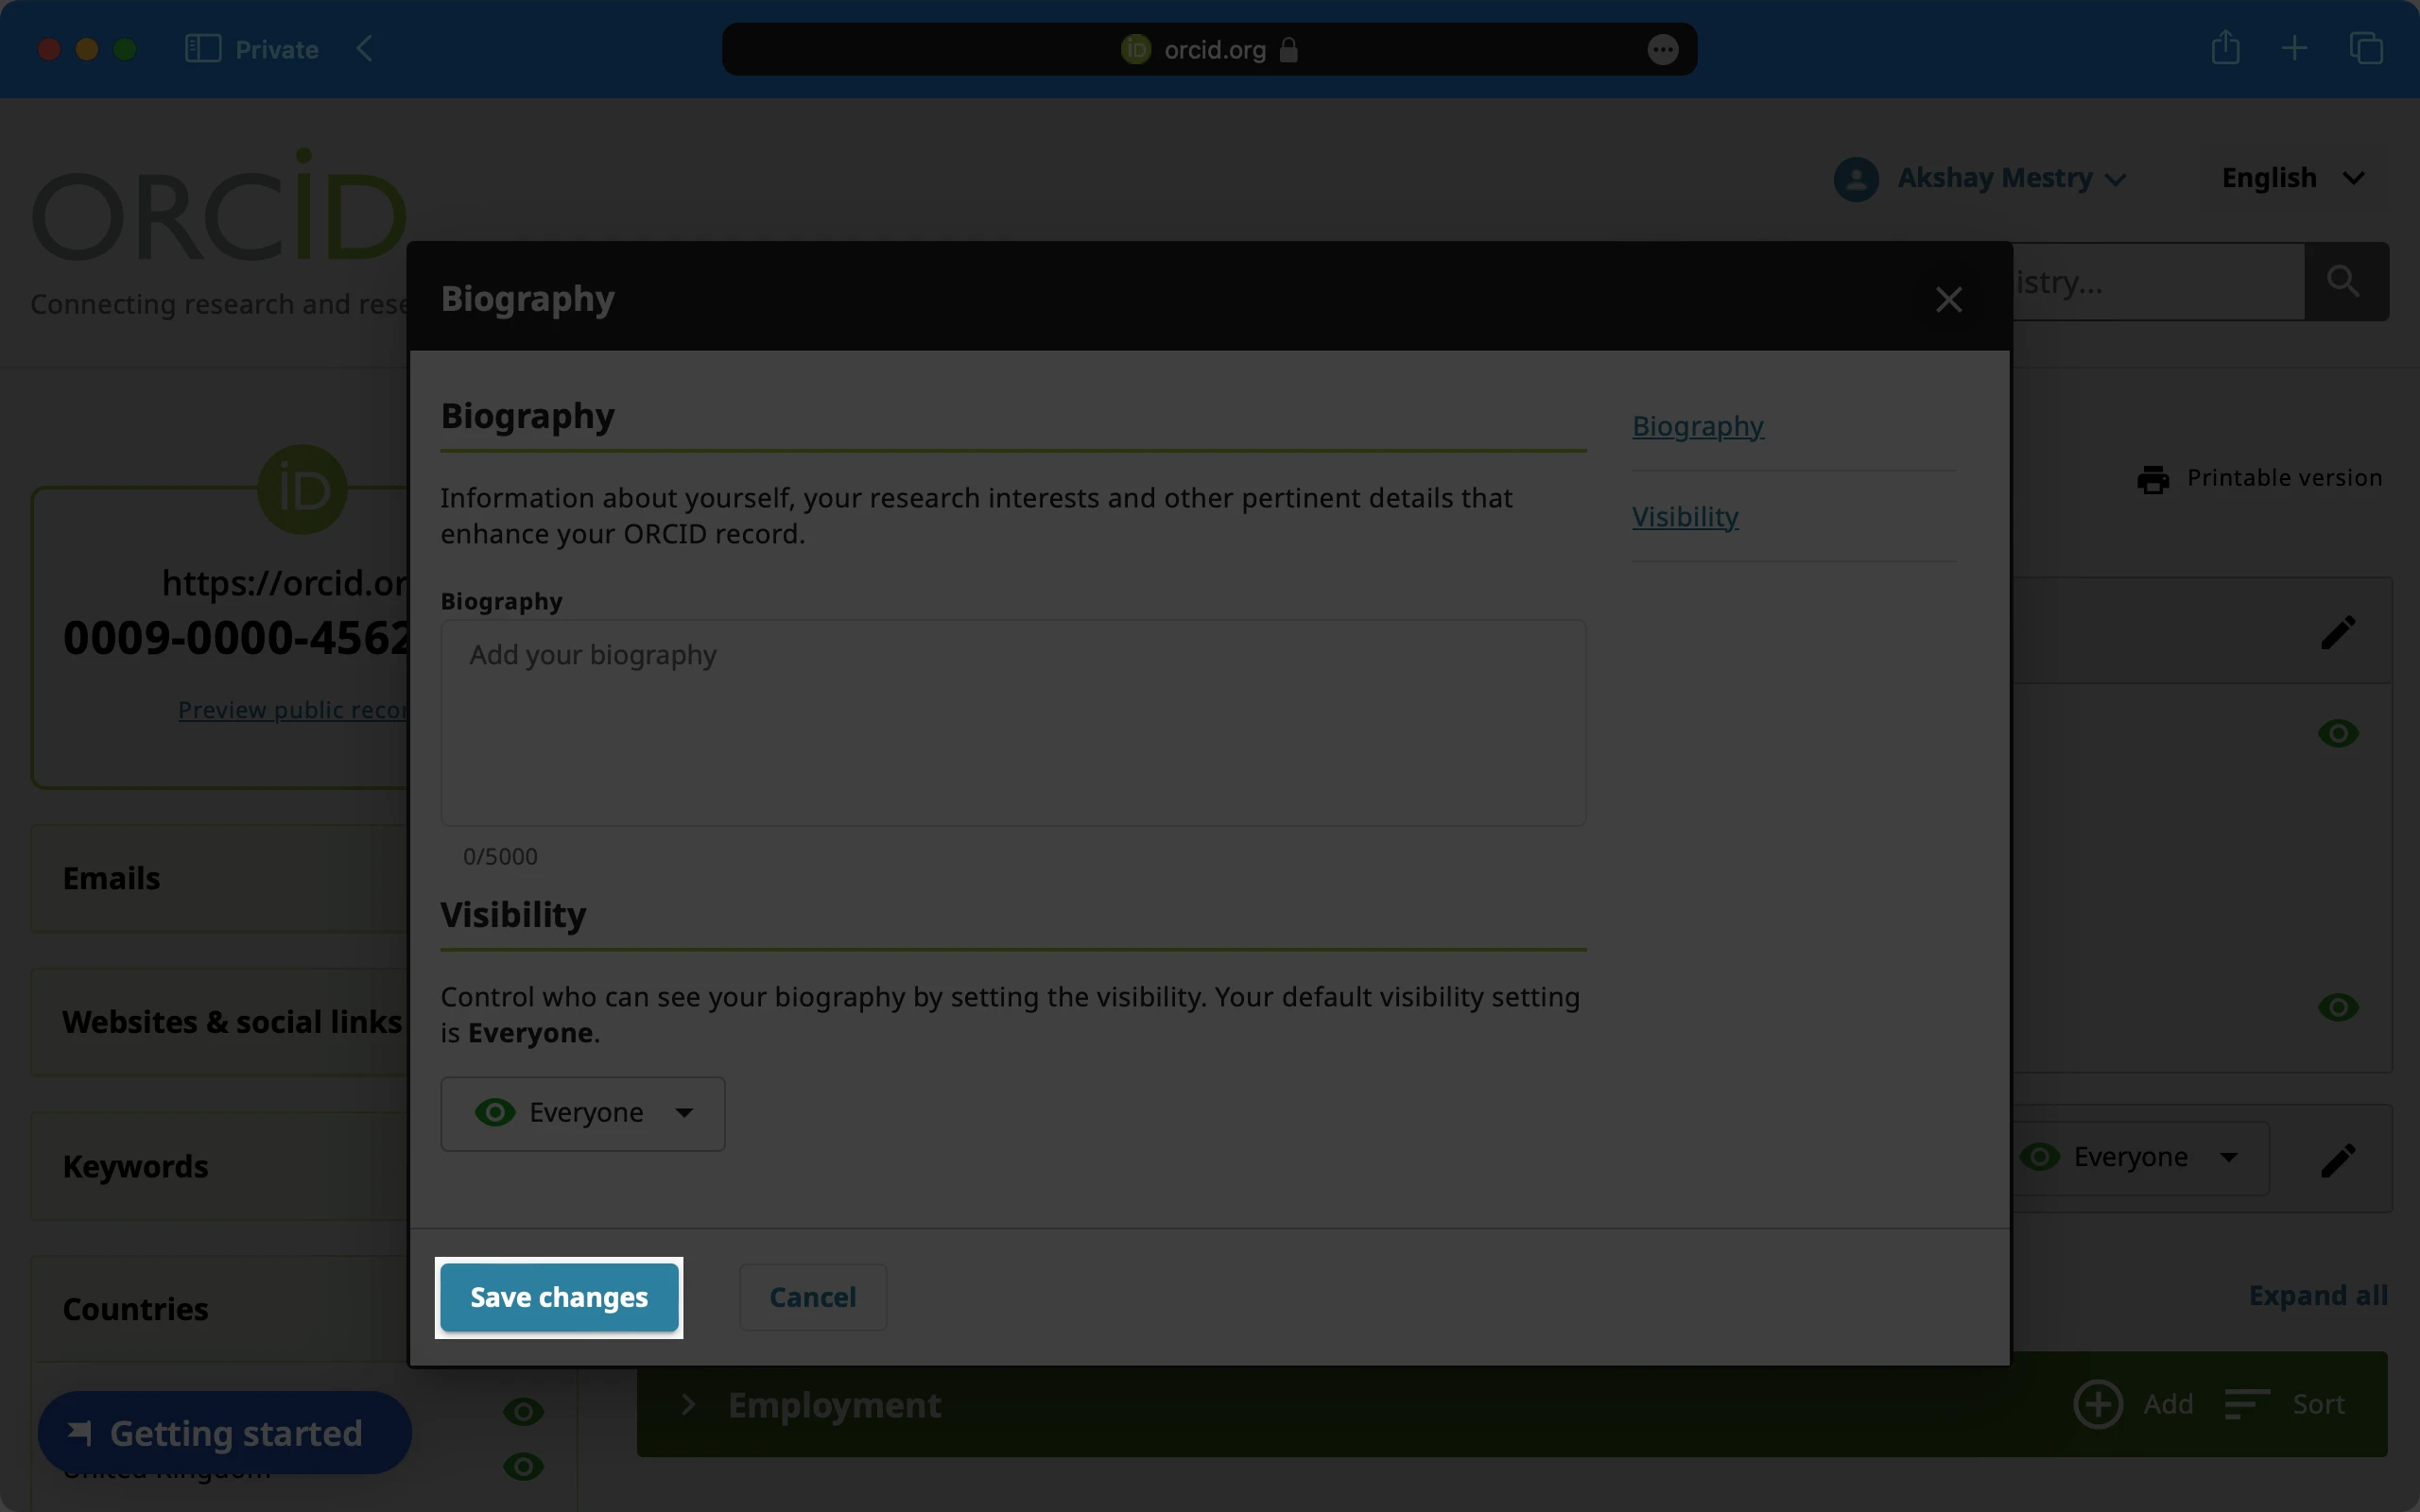
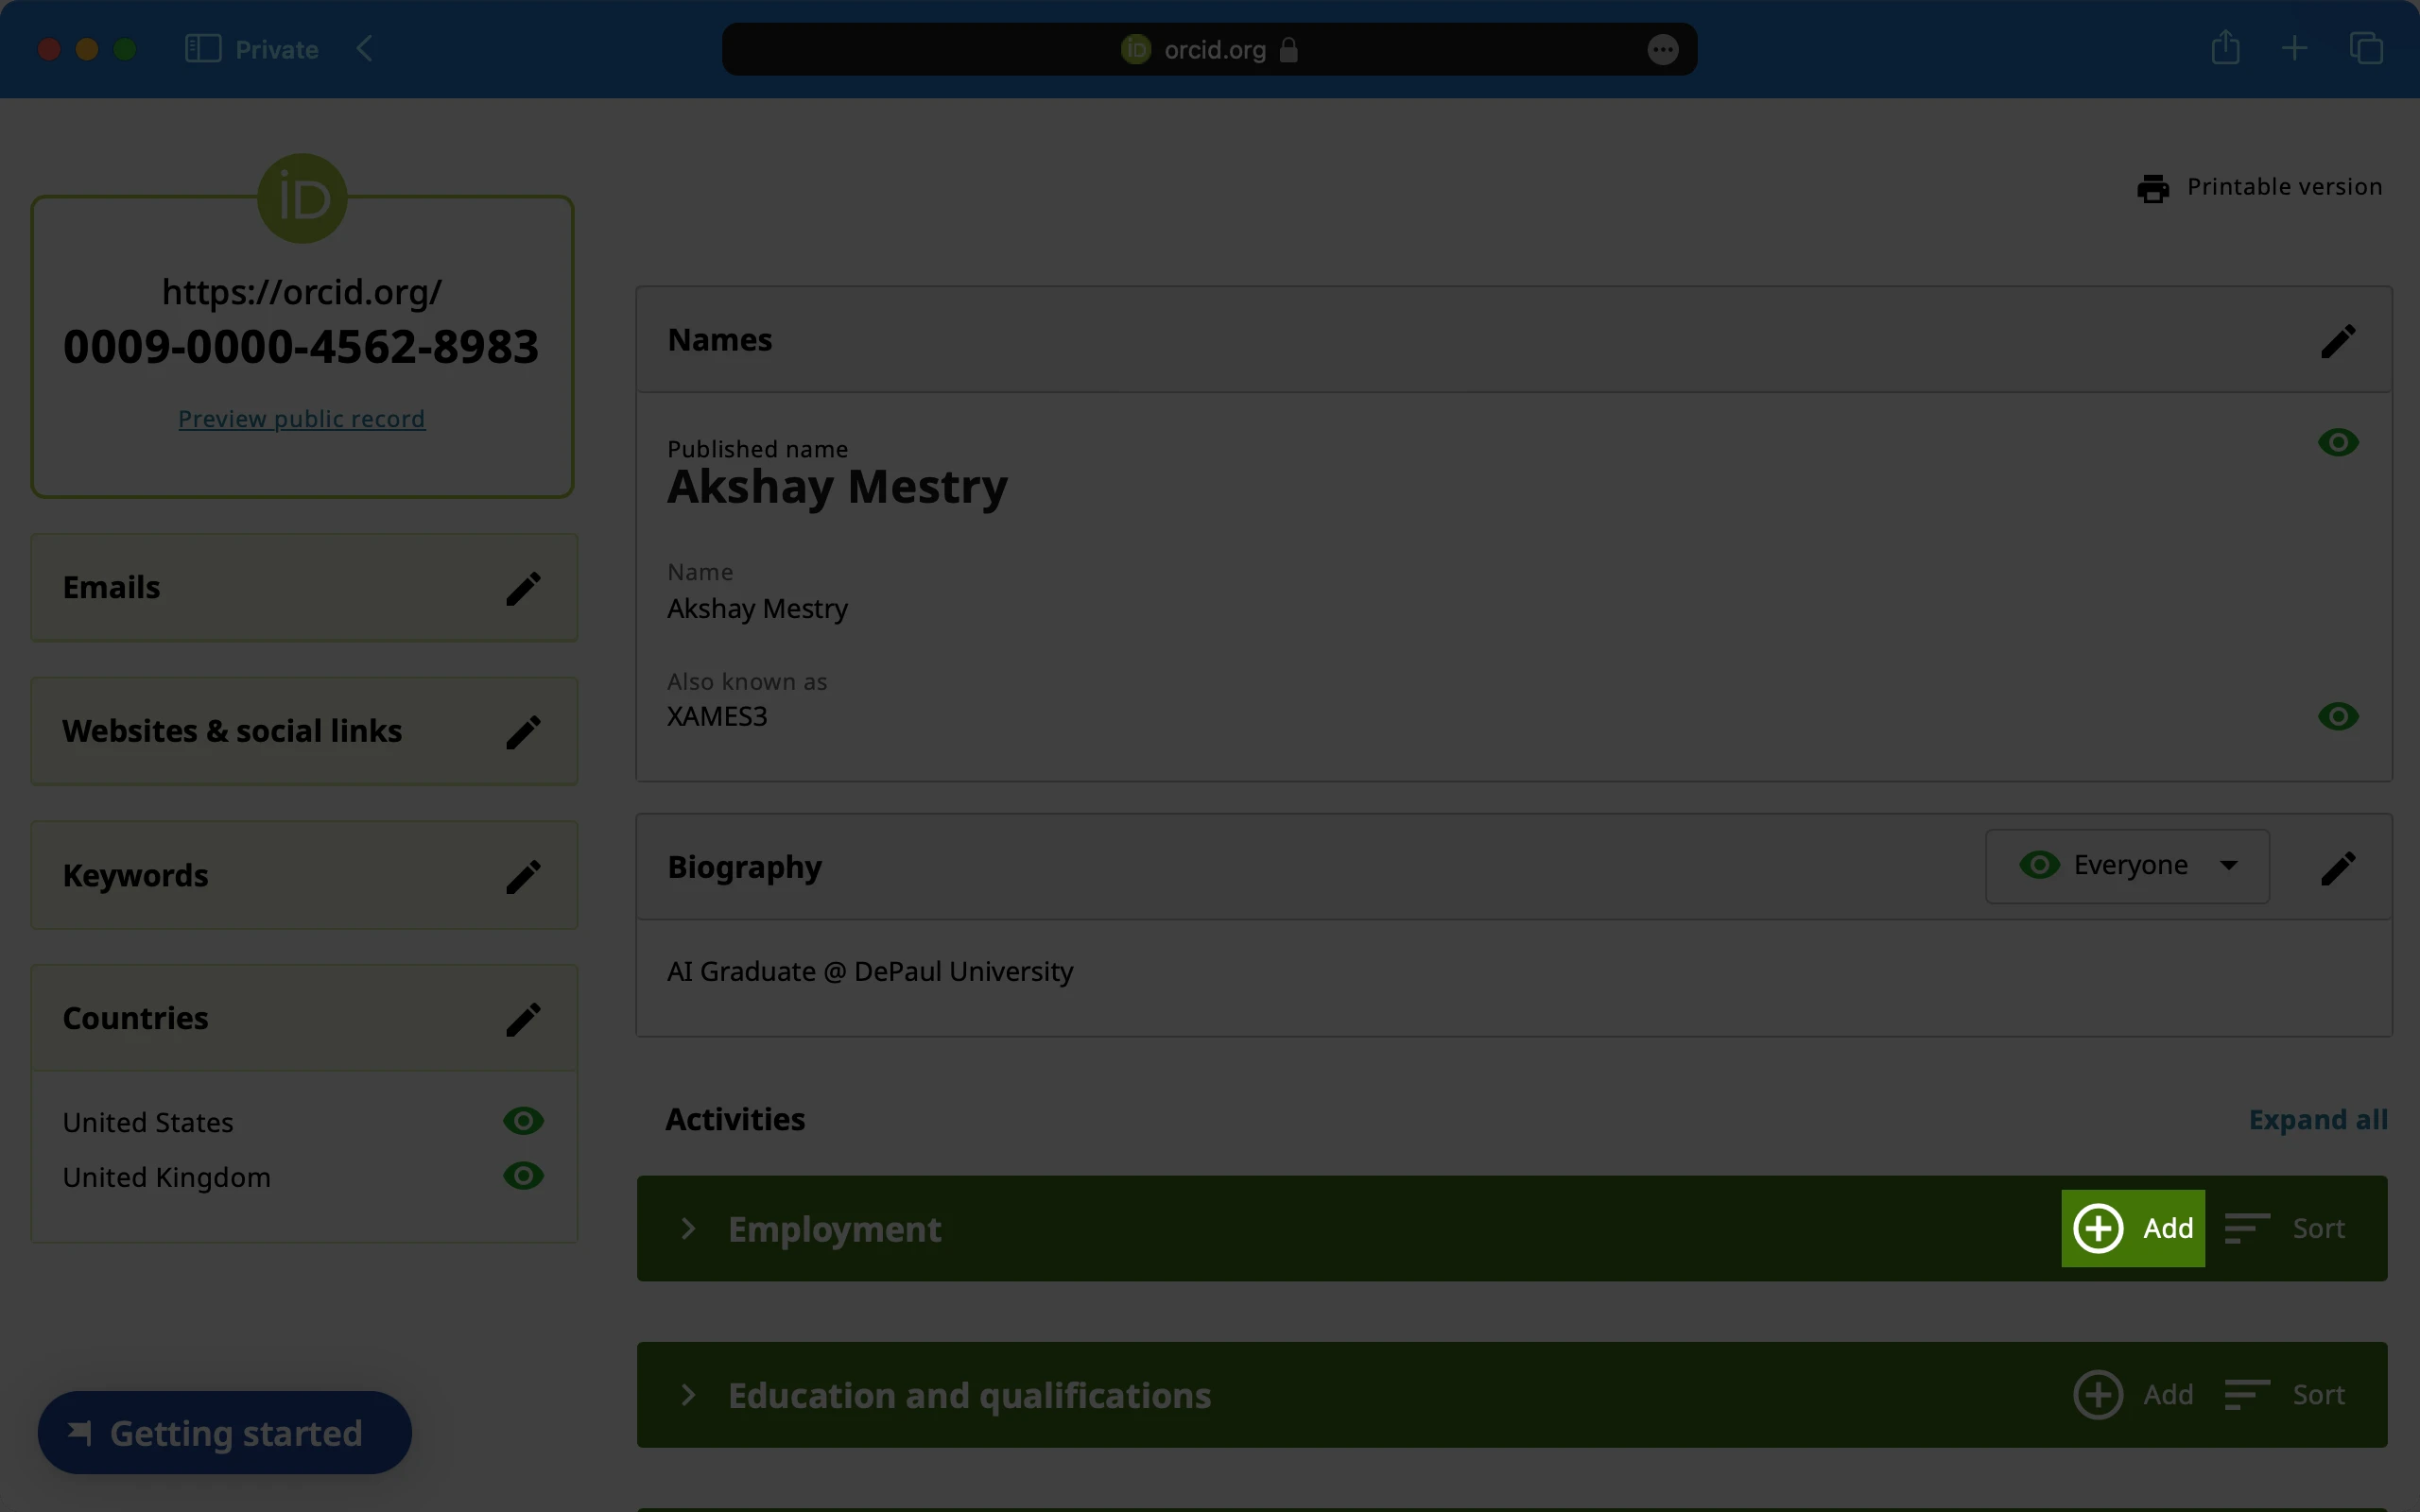
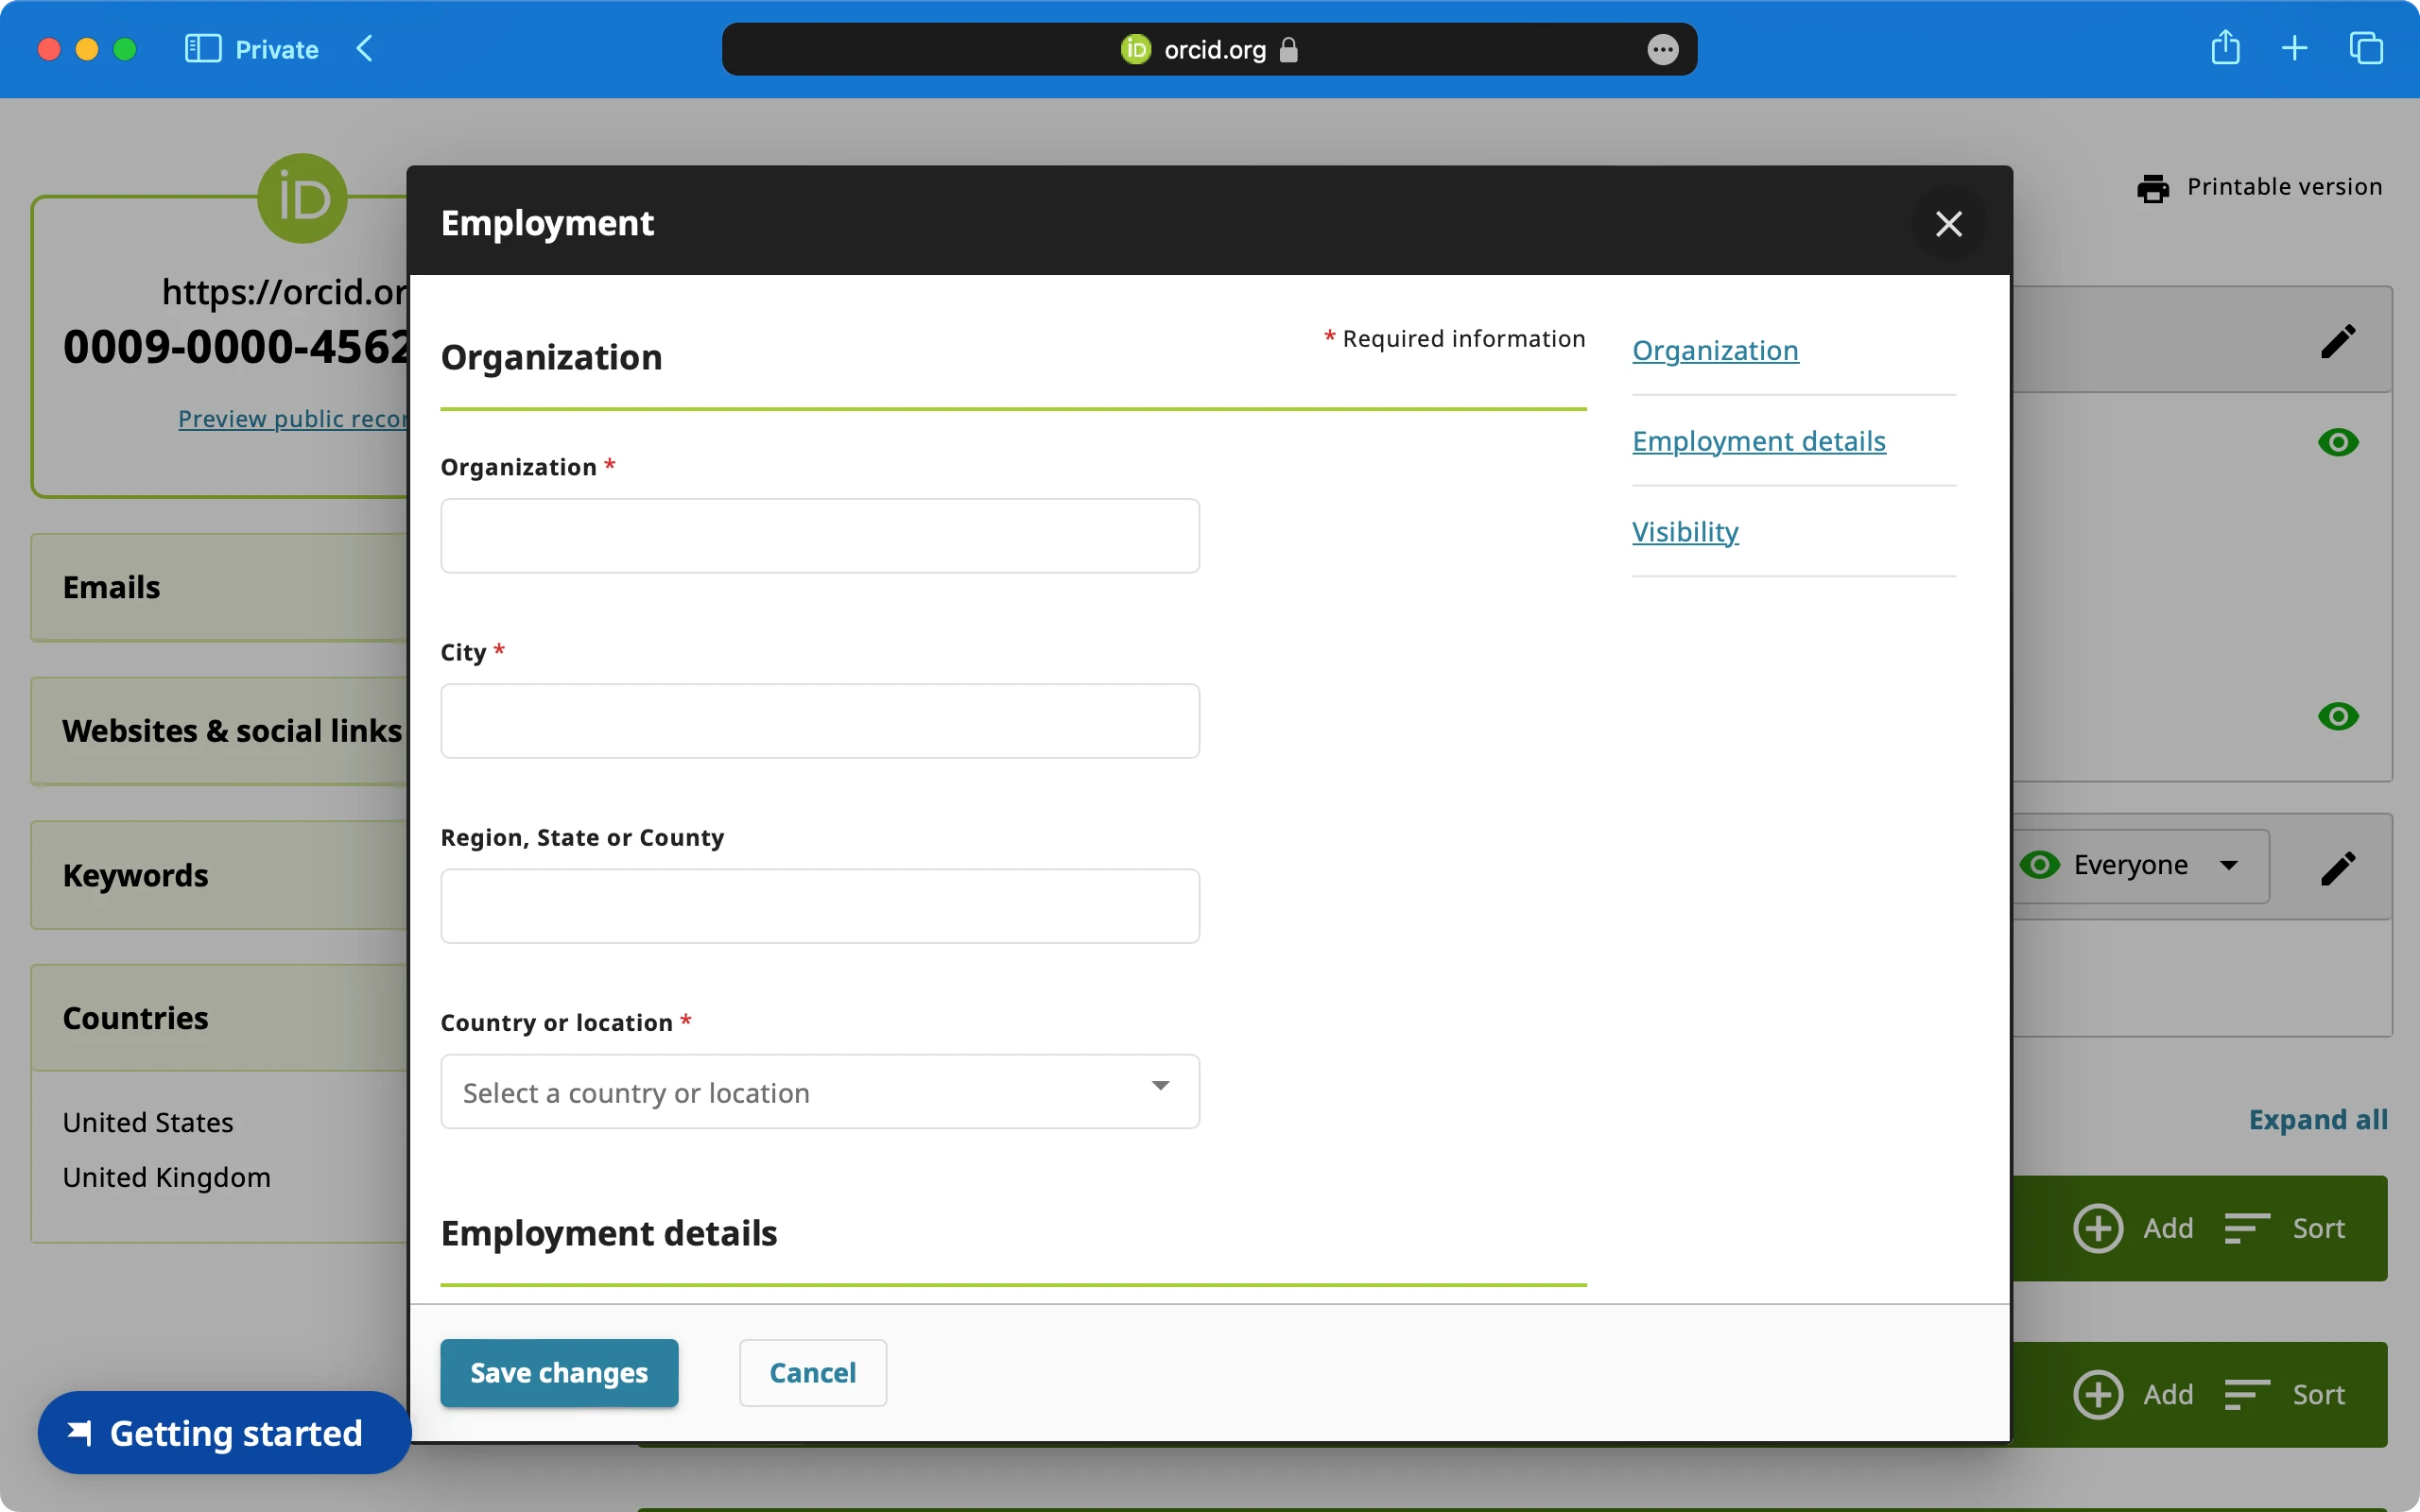
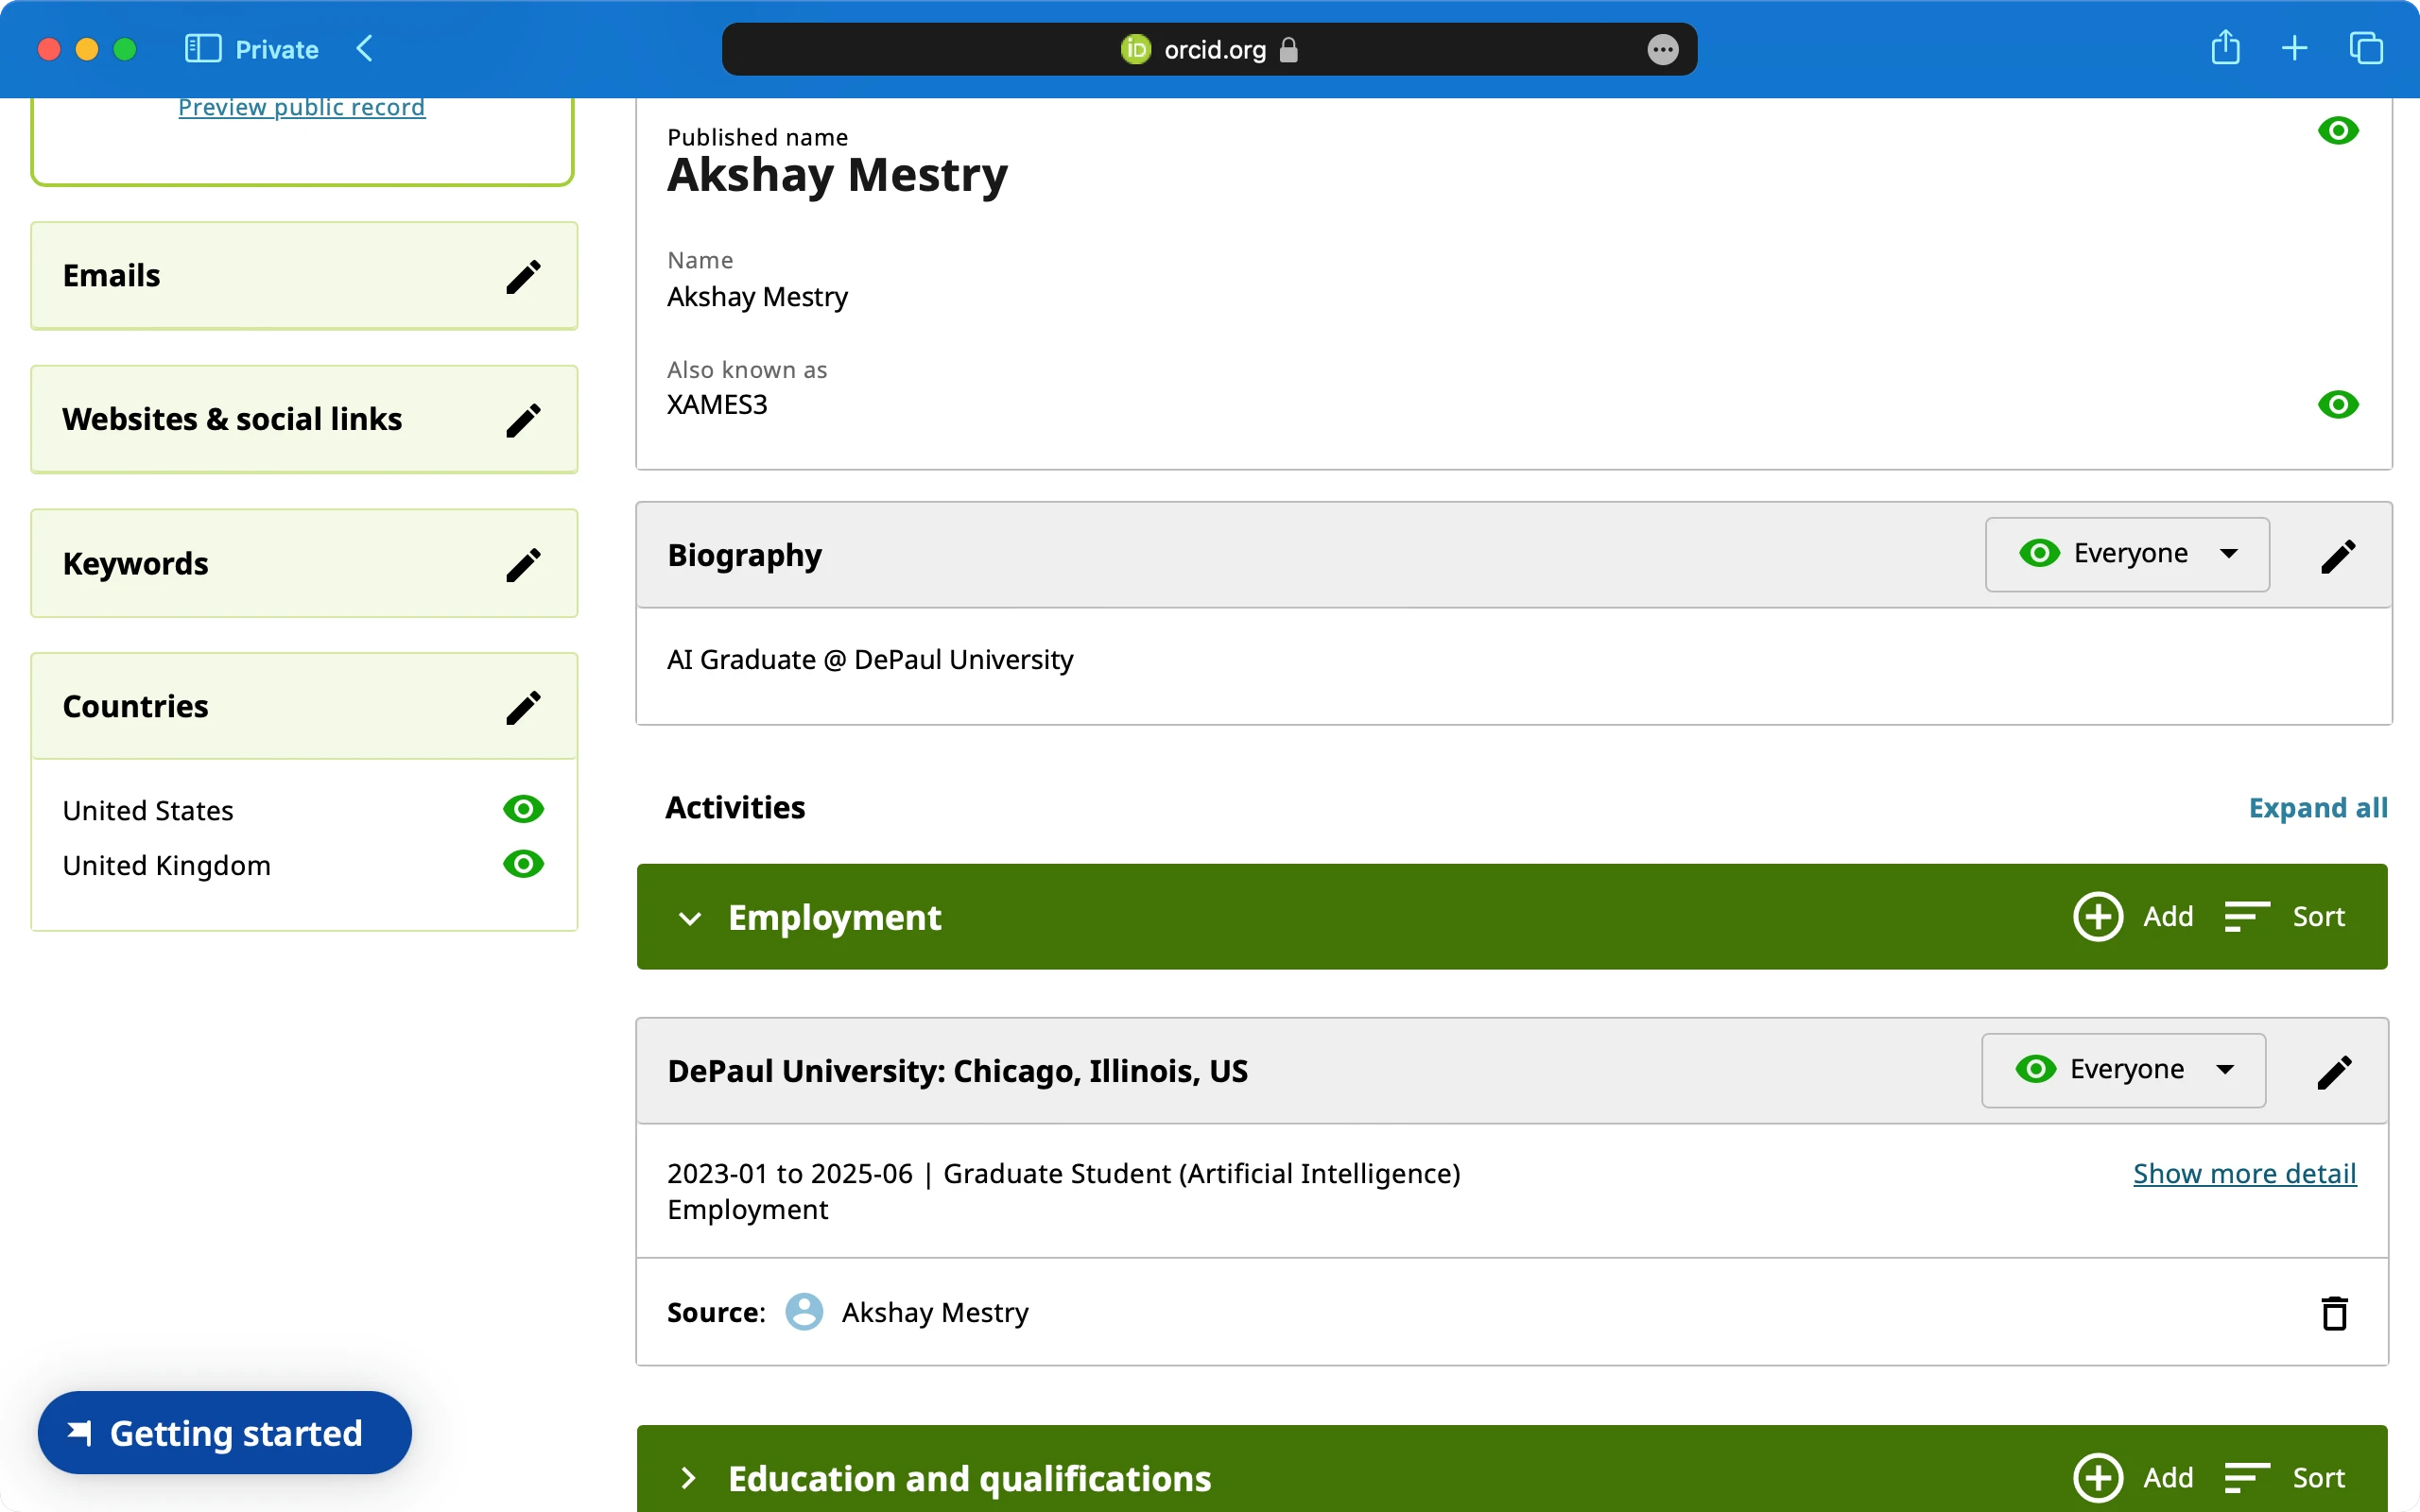
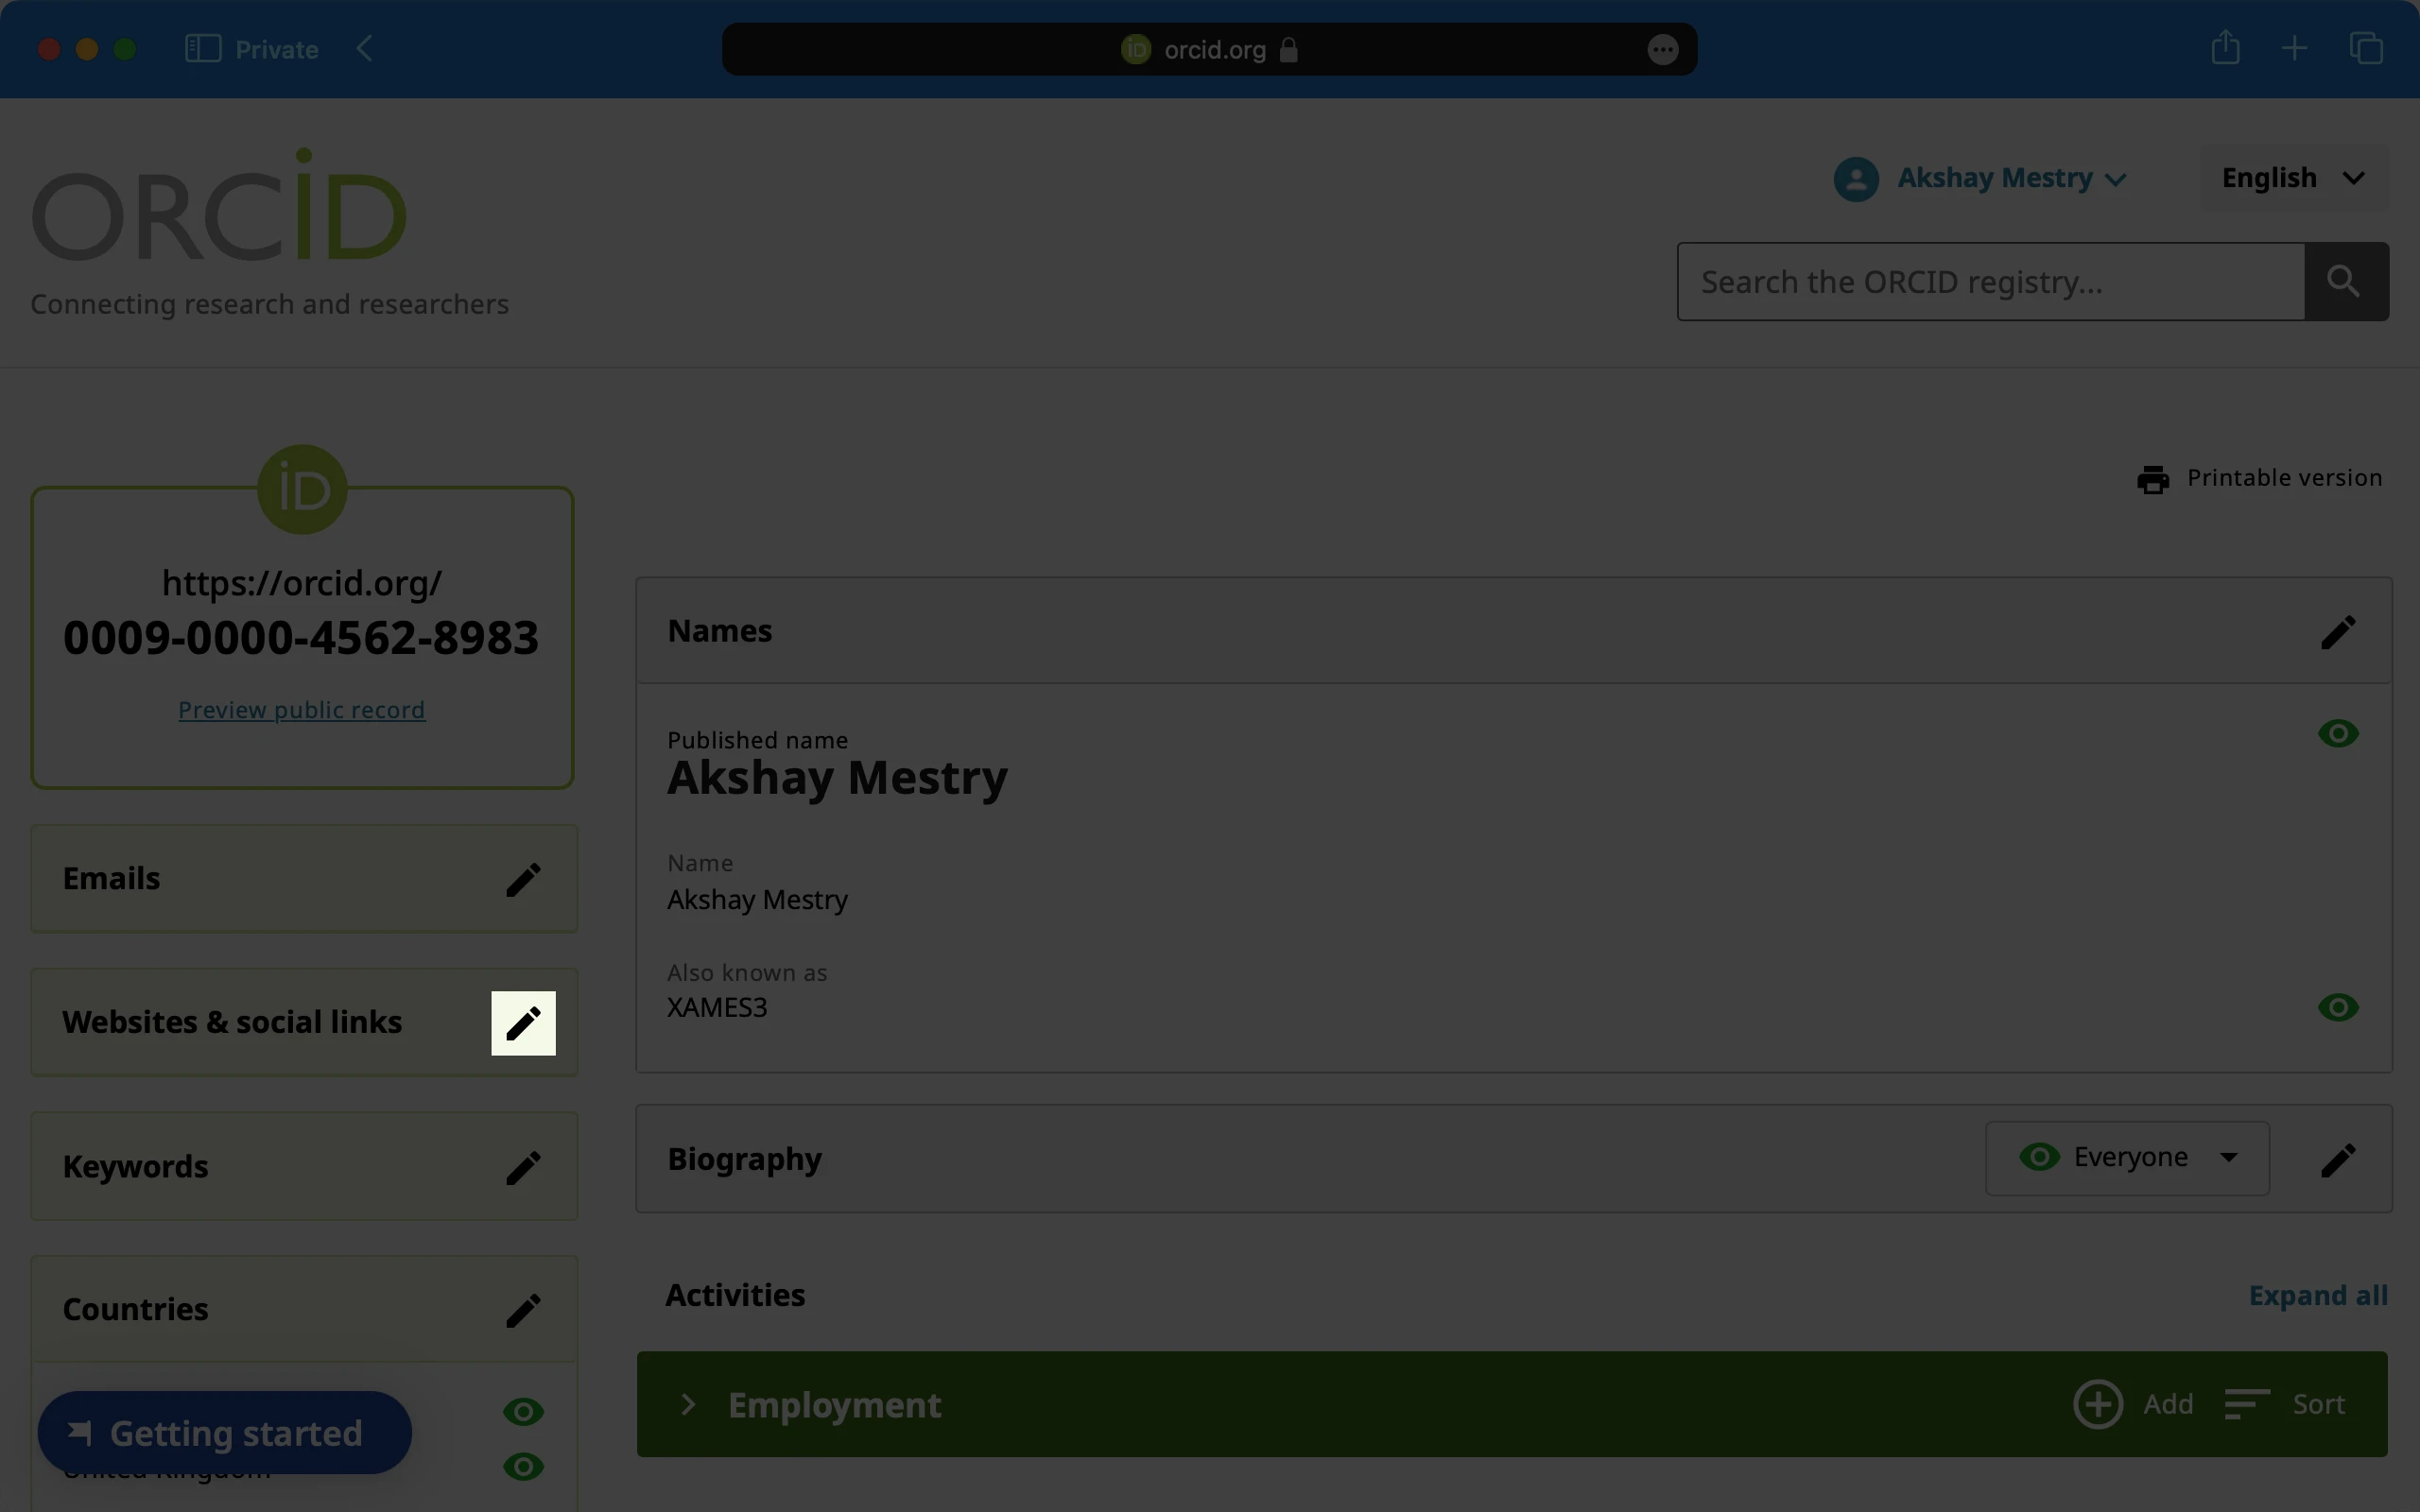
Personalizing Your ORCID Profile
This step is crucial in making sure your ORCID profile represents you well. The more information you provide, the easier it will be for collaborators and institutions to find you and recognize your work.
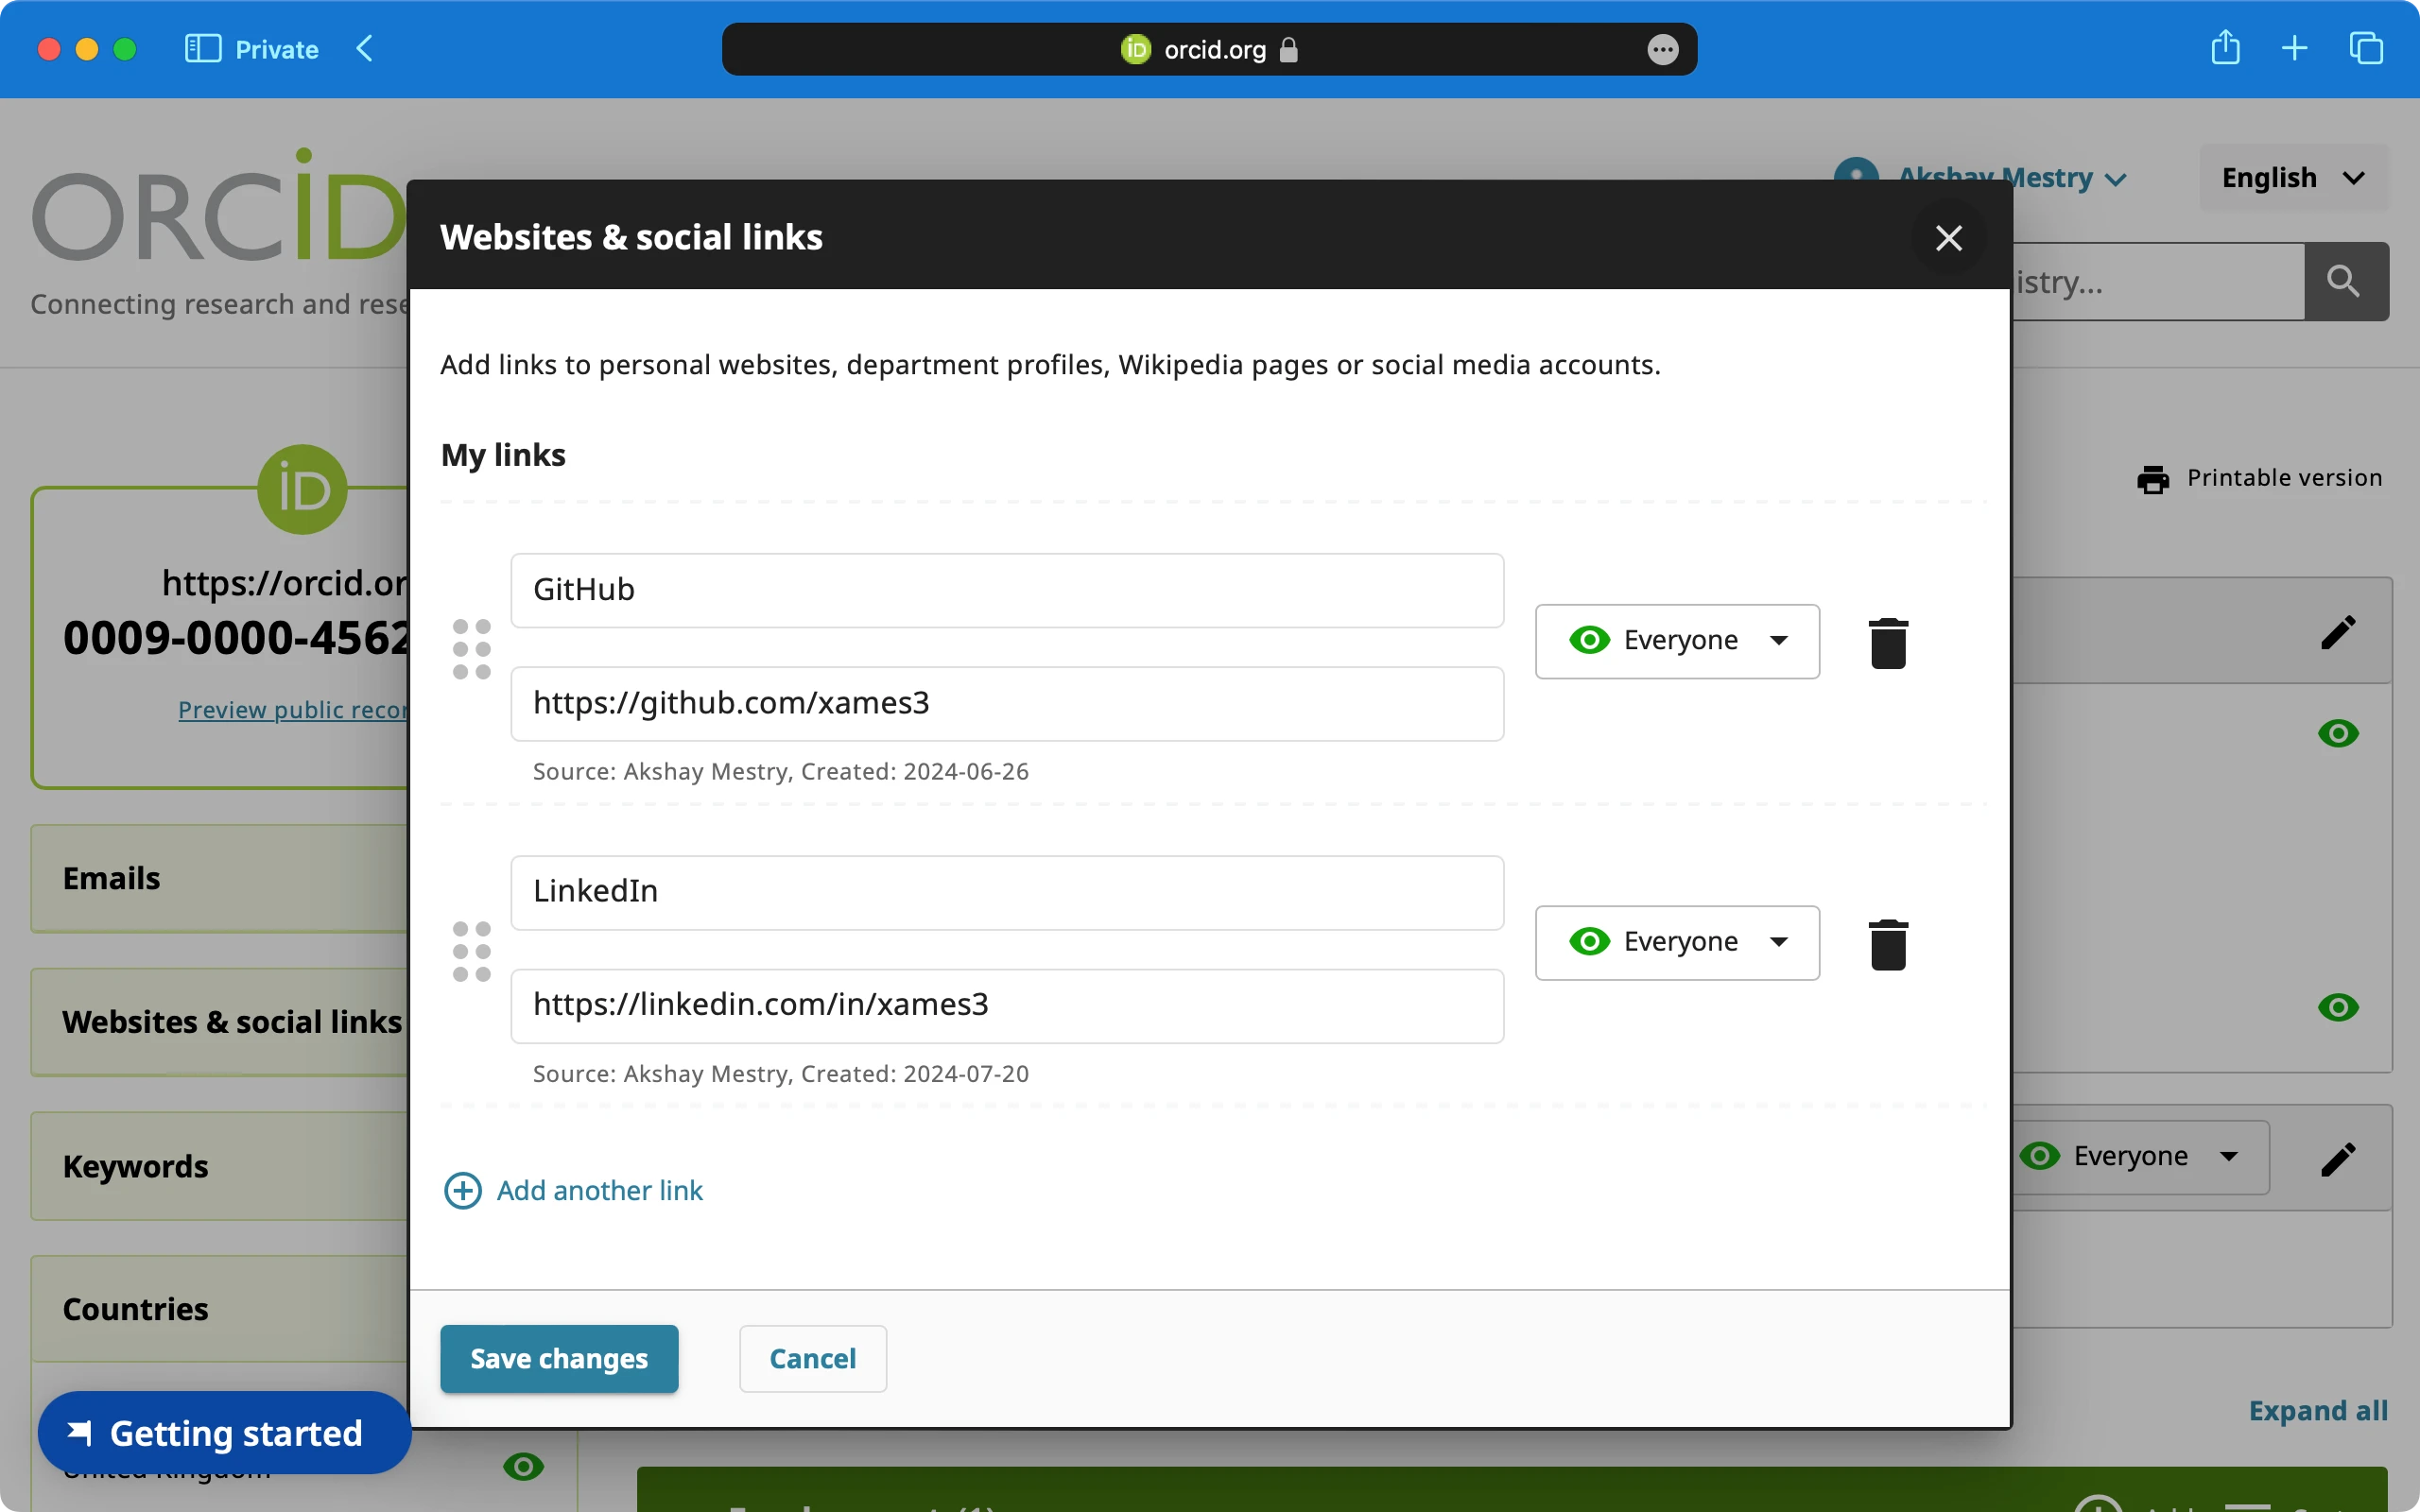
ORCID supports integration with various platforms, including GitHub and LinkedIn. You can link your ORCID profile to your GitHub account to create a cohesive professional identity across platforms.
Keeping Your ORCID Profile Up-to-Date
Your ORCID profile is a living document. As your career progresses, be sure to keep it updated with your latest contributions, projects, and affiliations. This is especially important in Open Science, where collaboration and visibility are key.
Tip
Set a reminder to check and update your profile every few months. That way, your information stays fresh and accurate.
Make the Most of Your ORCID
Now that you’ve created and set up your ORCID account, you’re ready to start using your ORCID ID in your research. Include it in your CV, Research papers, Articles, Conference presentations and Grant applications. This unique identifier will ensure that all your work is properly attributed to you, wherever it’s shared.
With your ORCID account ready, you’re now one step closer to engaging fully with the Open Science community. Remember, Open Science is all about transparency, accessibility, and collaboration. By taking the time to set up your ORCID account, you’re contributing to a global movement dedicated to making science open to all. <<<<<<< HEAD
EarthData
NASA EarthData is a crucial platform that provides access to Earth science data collected by NASA. A NASA EarthData account allows users to download datasets, access various data repositories, and integrate APIs for their research. The registration process is straightforward and typically involves filling out basic personal information, agreeing to terms of use, and verifying the account via email.
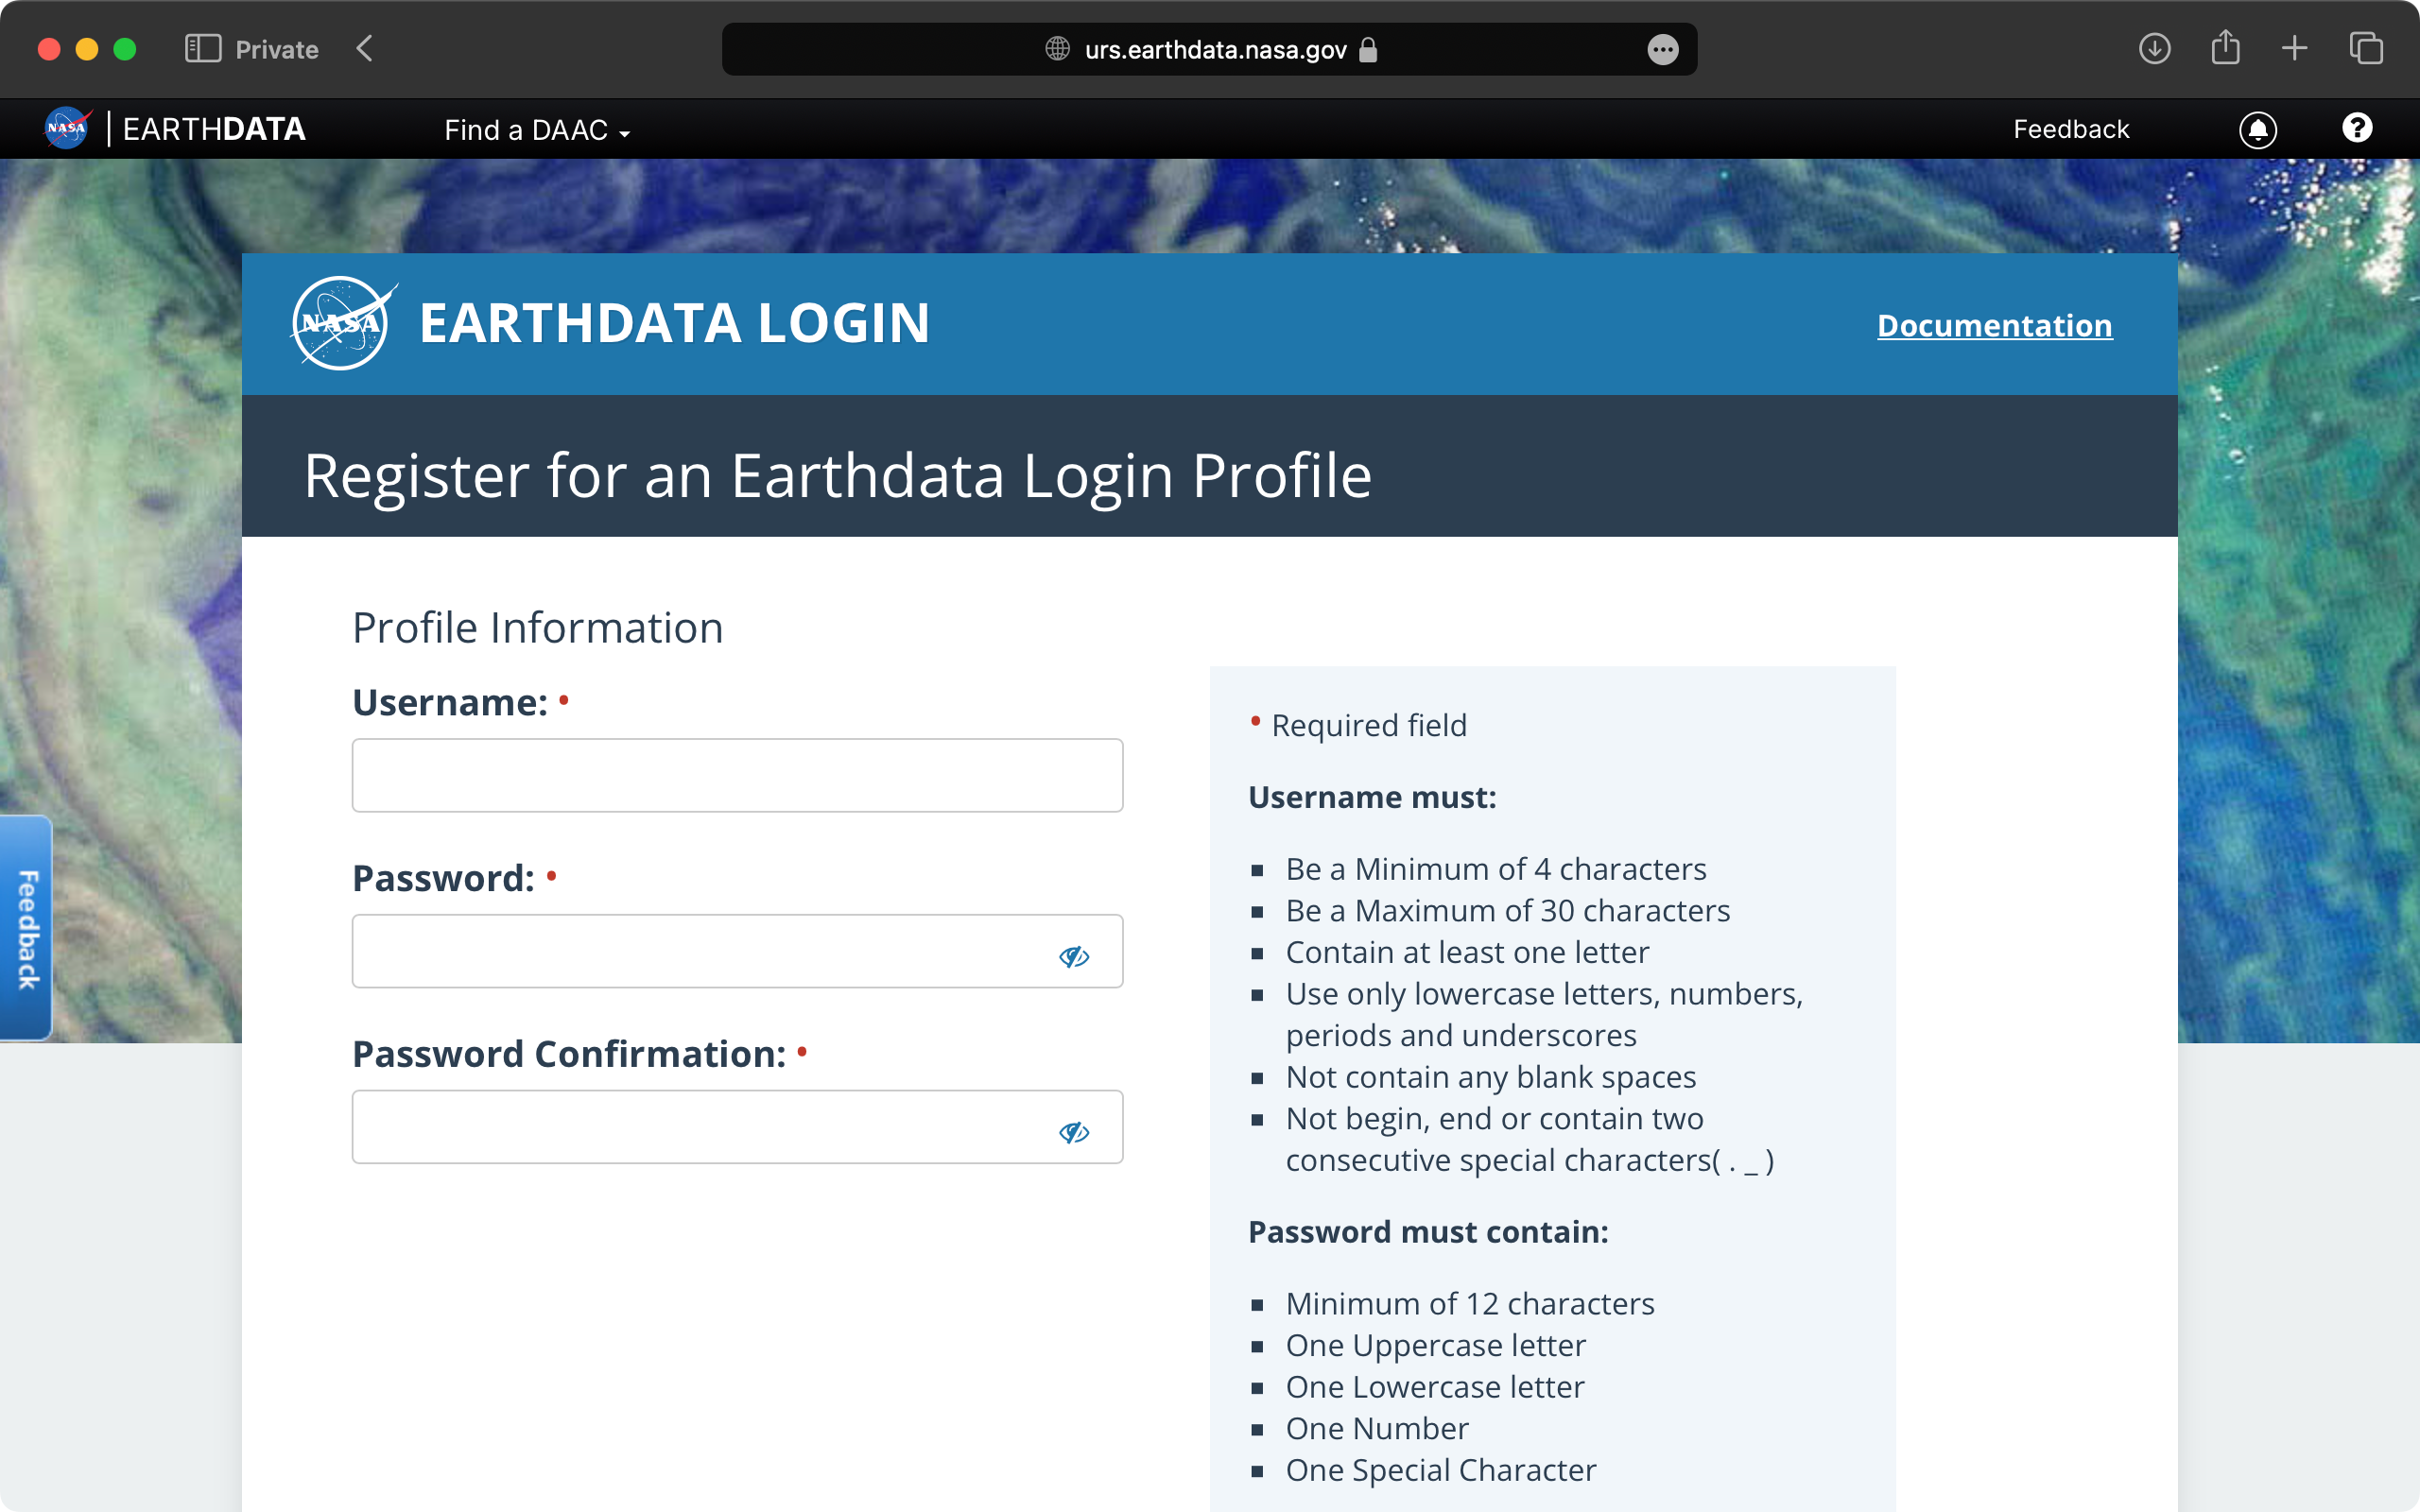
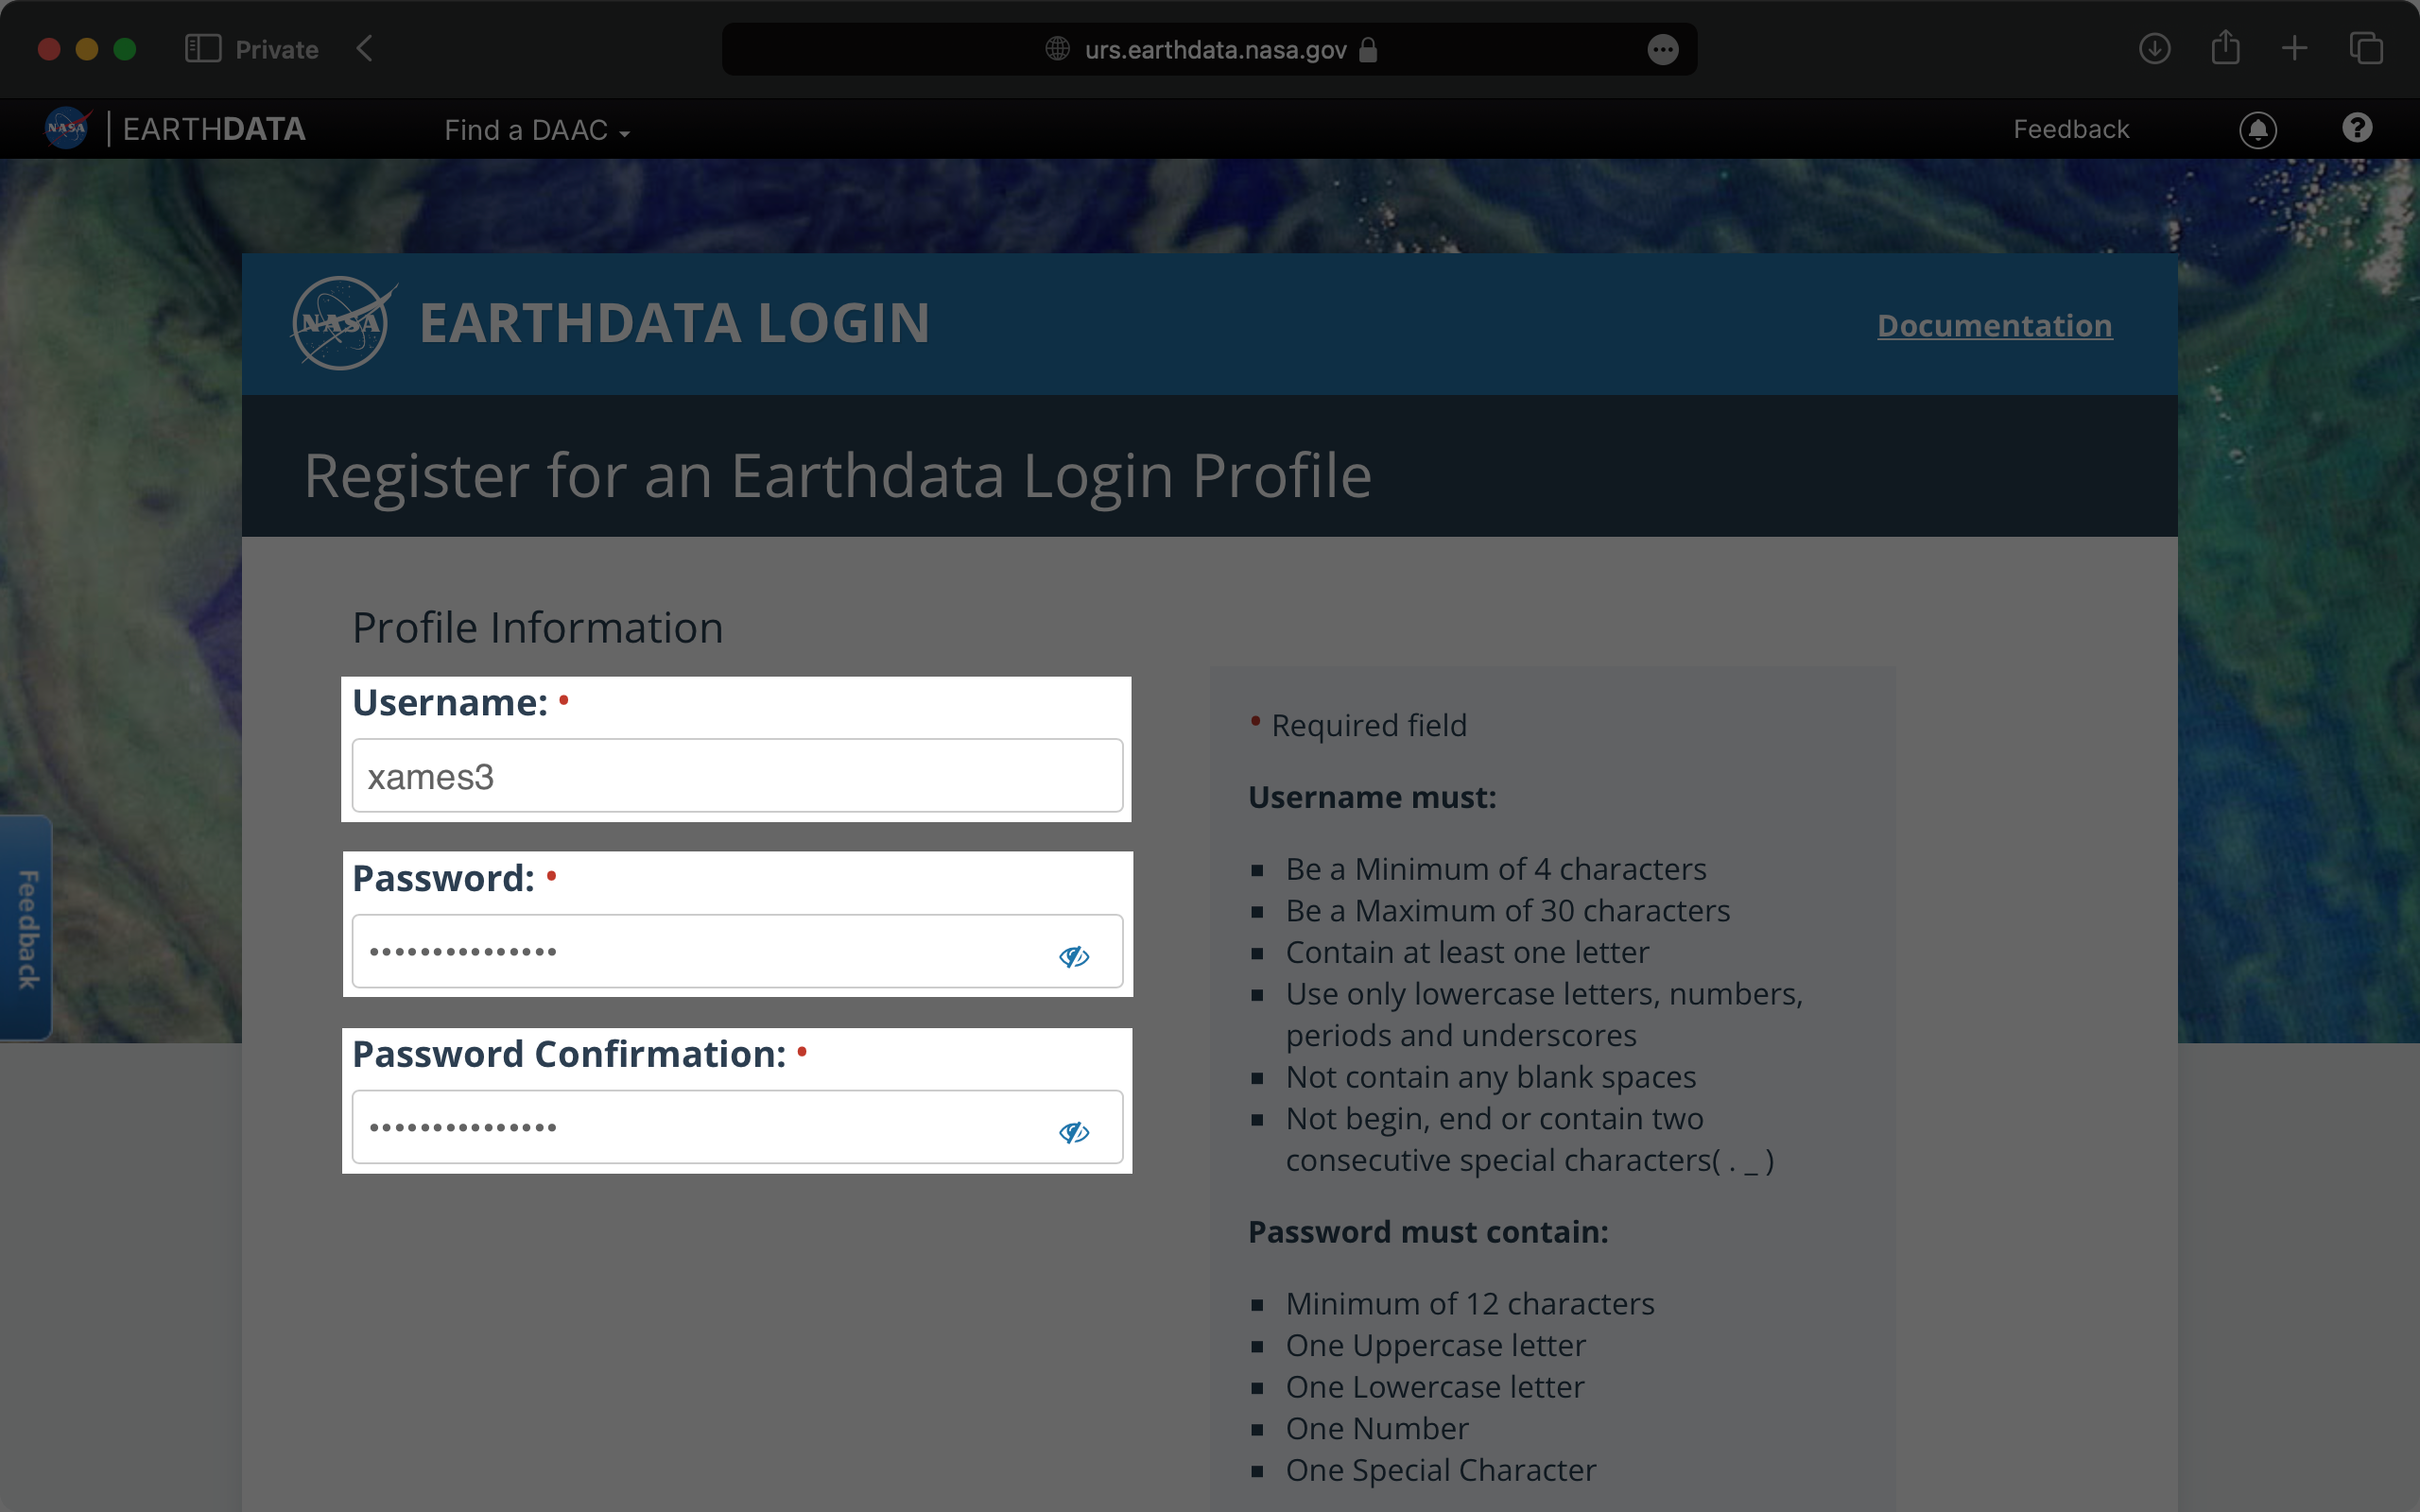
Creating EarthData Account
Go to EarthData.
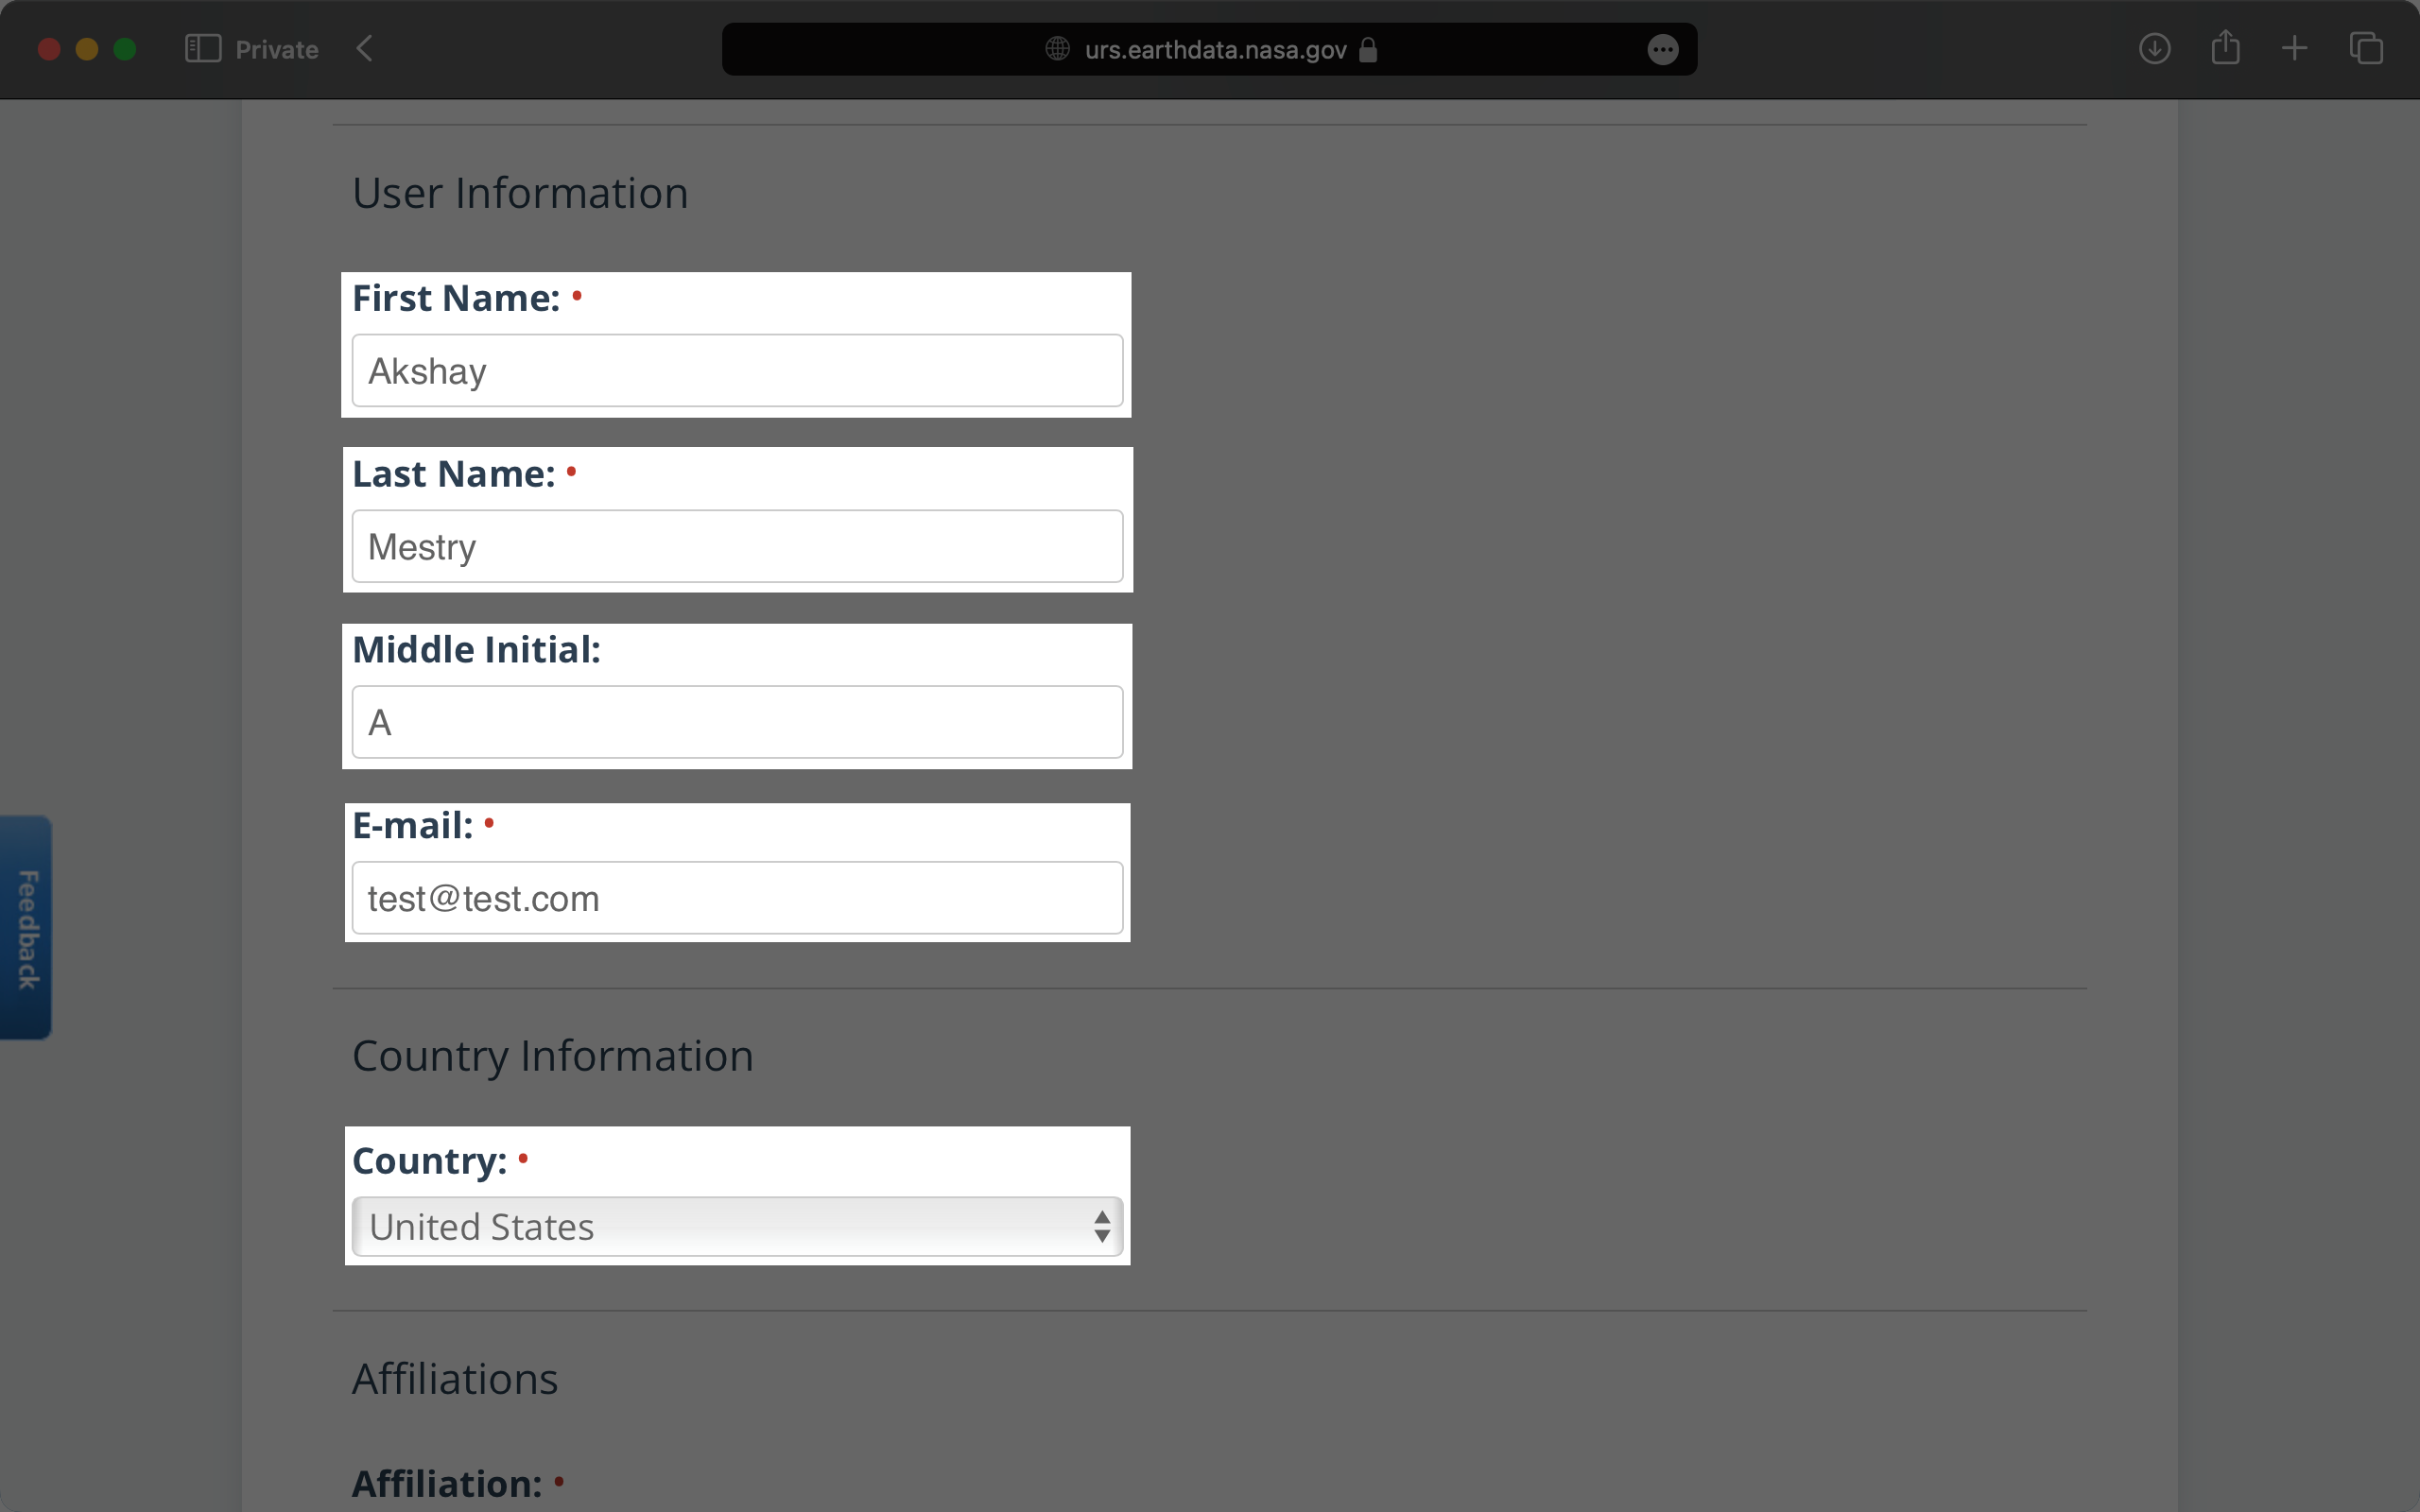
Click on Register. Like ORCID, you’ll see a form asking for some basic information. Enter your information like your username and password. Confirm the password once. Instructions about the password requirements would be mentioned while entering the password.
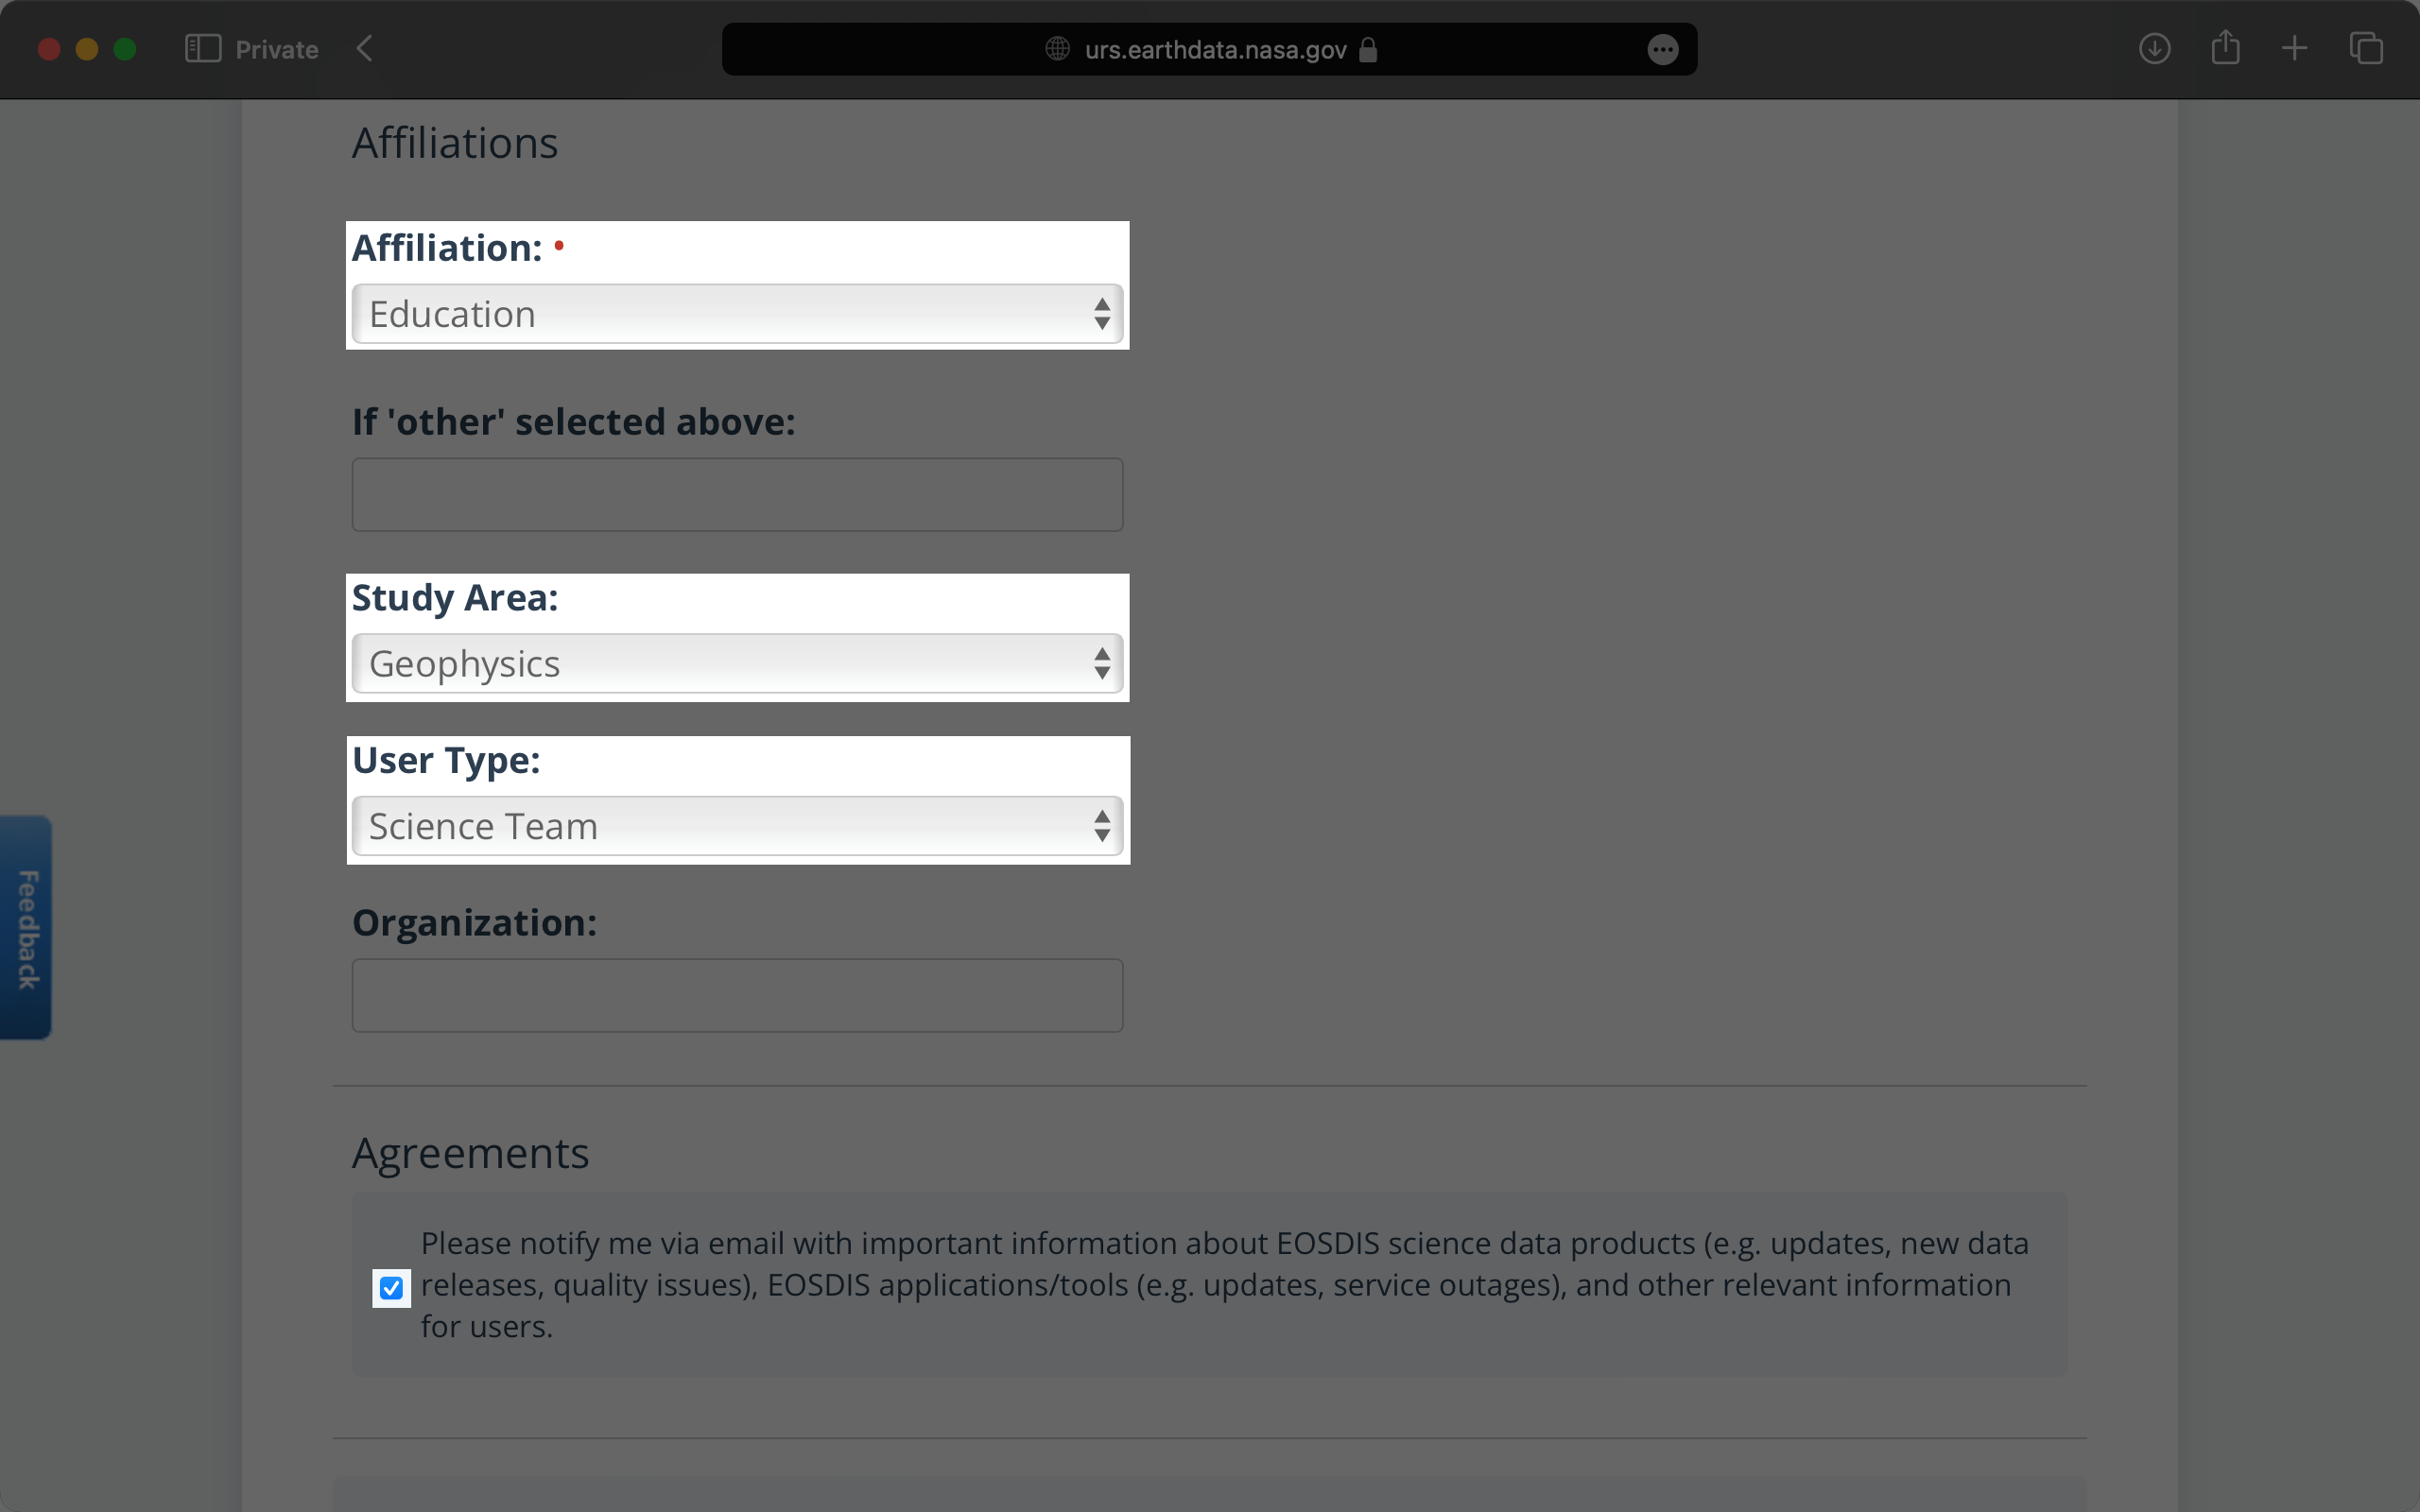
Next would be the first and last name, primary email address, your Country of Research and Affiliations.
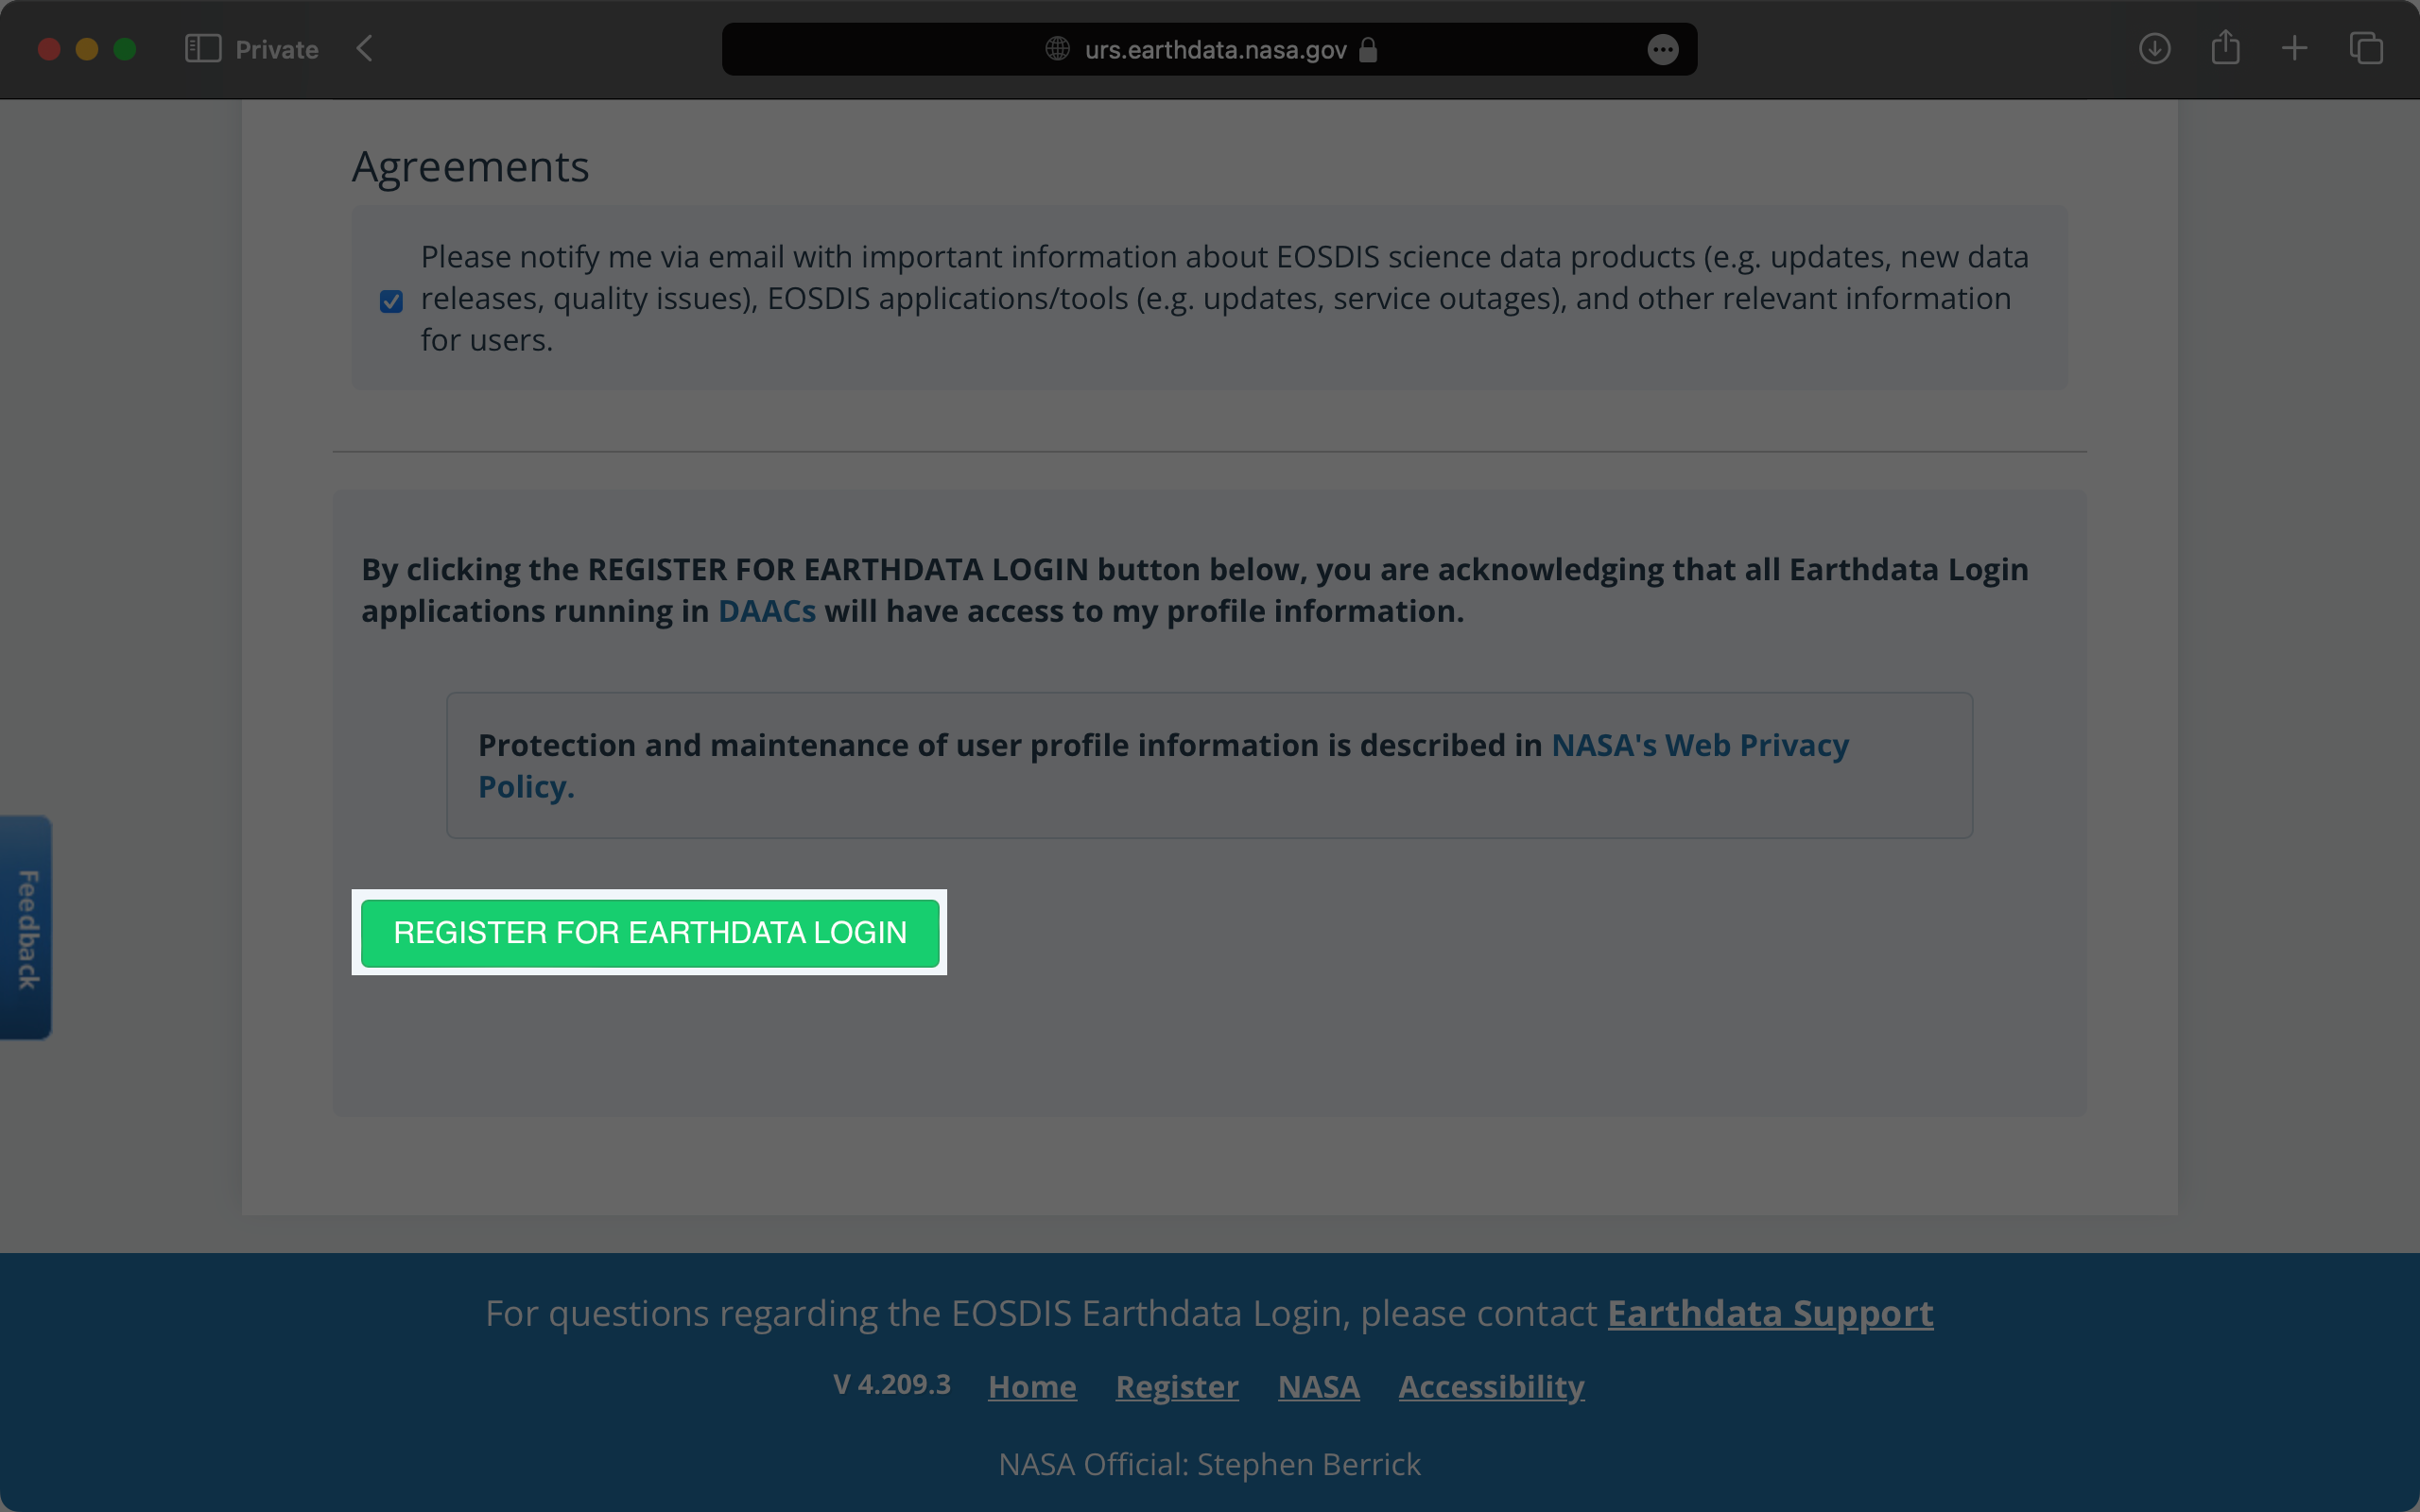
Review and accept the EarthData terms of use and privacy policy.
Finally, Click the Register For EarthData Login button to complete the form submission.
Optional Choices For EarthData Account
Important
Check your email inbox for a verification link from NASA EarthData. Click the link to activate your account. After verifying your email, return to the EarthData Login page and enter your username and password to access your new account.
And there you have it, NASA’s EarthData account!
>>>>>>> afff13ce66fc335603ebcd8d36bc366ee3fb4548